.png?width=1391&height=437&name=SCALIS%20Logo%20(1).png)
Custom Rejecting Candidates from their profile:
-
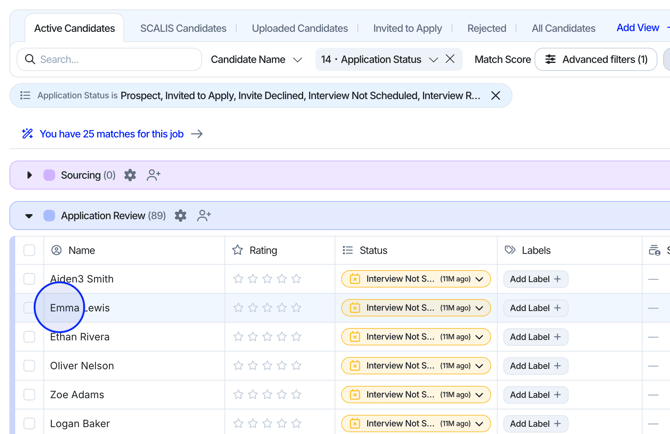
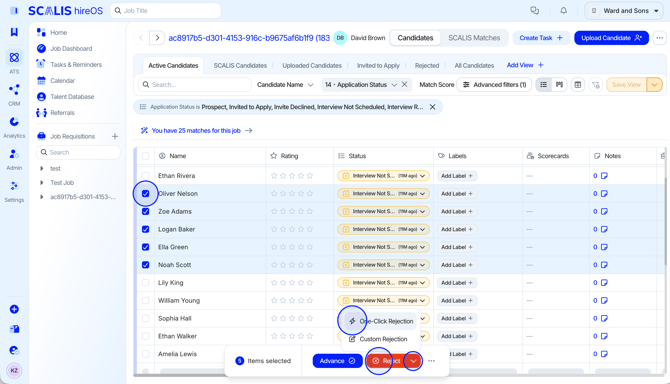
Navigate to the candidate you'd like to reject and click on their name.
-
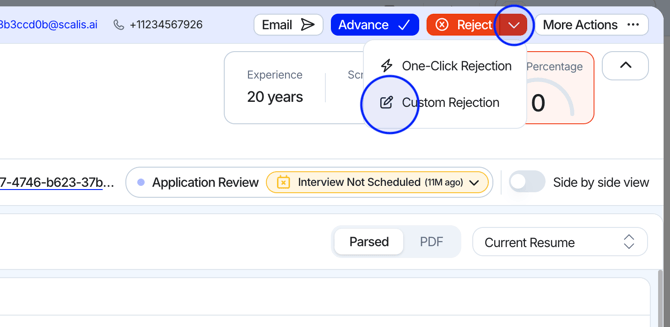
Click the drop-down arrow in the "Reject" button then click the "Custom Rejection" option.
-
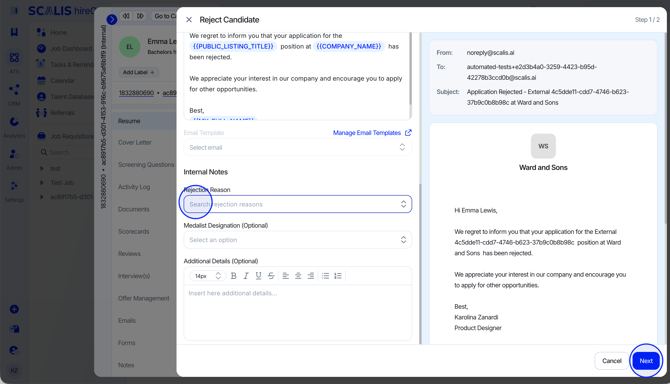
Select the Rejection Reason then click "Next".
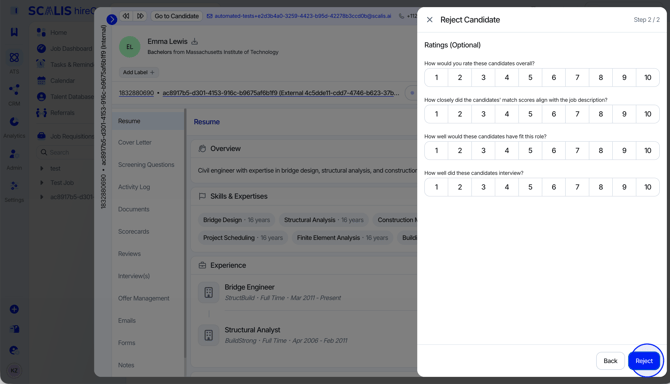
- Fill out the optional ratings or click "Reject".
One Click Rejection:
This feature allows users to create and activate a configurable rejection flow that is a one-click action.
How to configure the One-Click Rejection Flow:
-
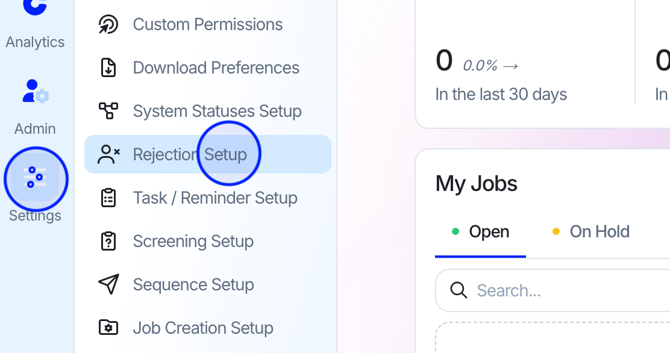
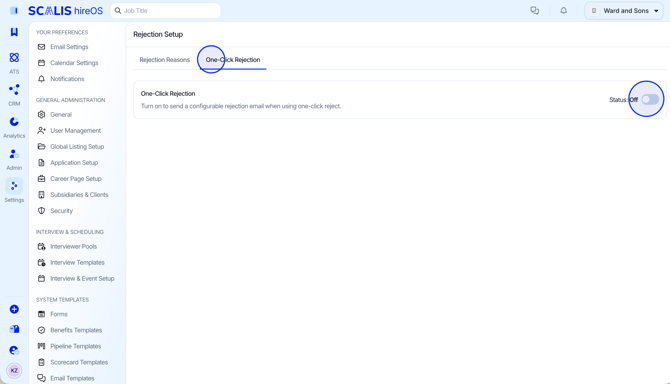
Click the "Settings" tab on the left navigation and navigate to "Rejection Setup".
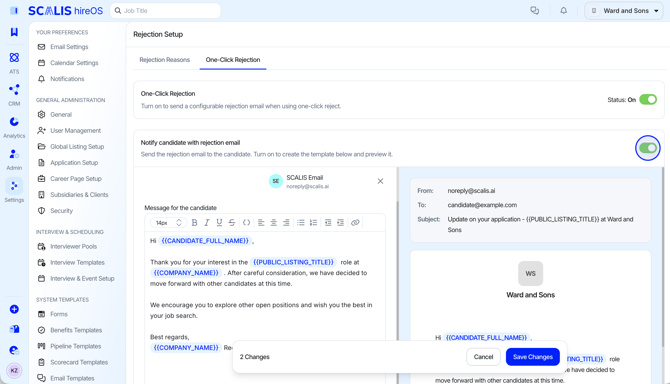
- Go to the "One-Click Rejection" tab then toggle on the "One-Click Rejection" and select whether of not to "Notify candidate with rejection email" and create a rejection template.
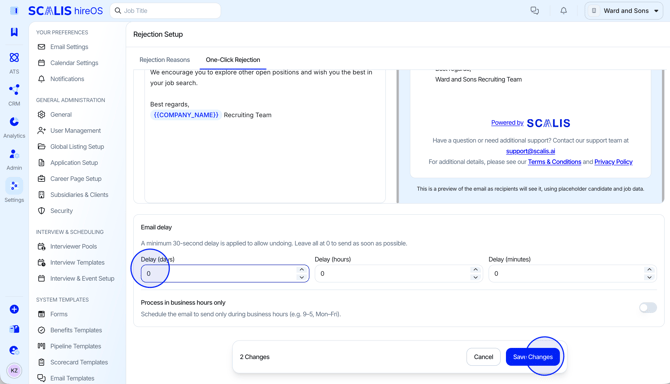
- If you select to send a rejection email, define a delay for the email to be sent after rejecting the candidate.
- Once satisfied, click "Save Changes".
How to use the One-Click Rejection:
-
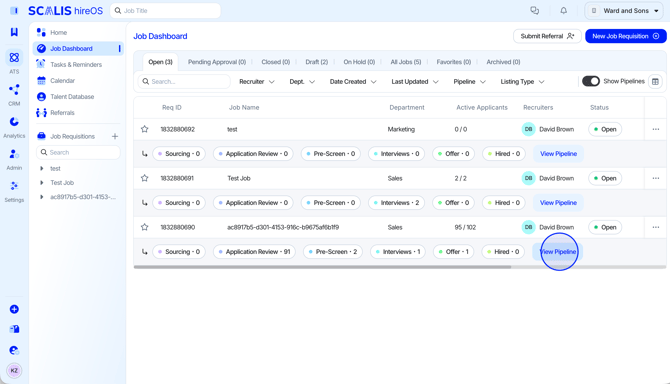
After activating the One-Click Rejection, navigate to the job pipeline where you want to reject candidates.
- Select the candidates you want to reject and click "One-Click Rejection" from the drop-down arrow, or simply click the "Reject" button.
- Success! Candidates will be rejected and notified based on your One-Click Rejection settings.