.png?width=1391&height=437&name=SCALIS%20Logo%20(1).png)
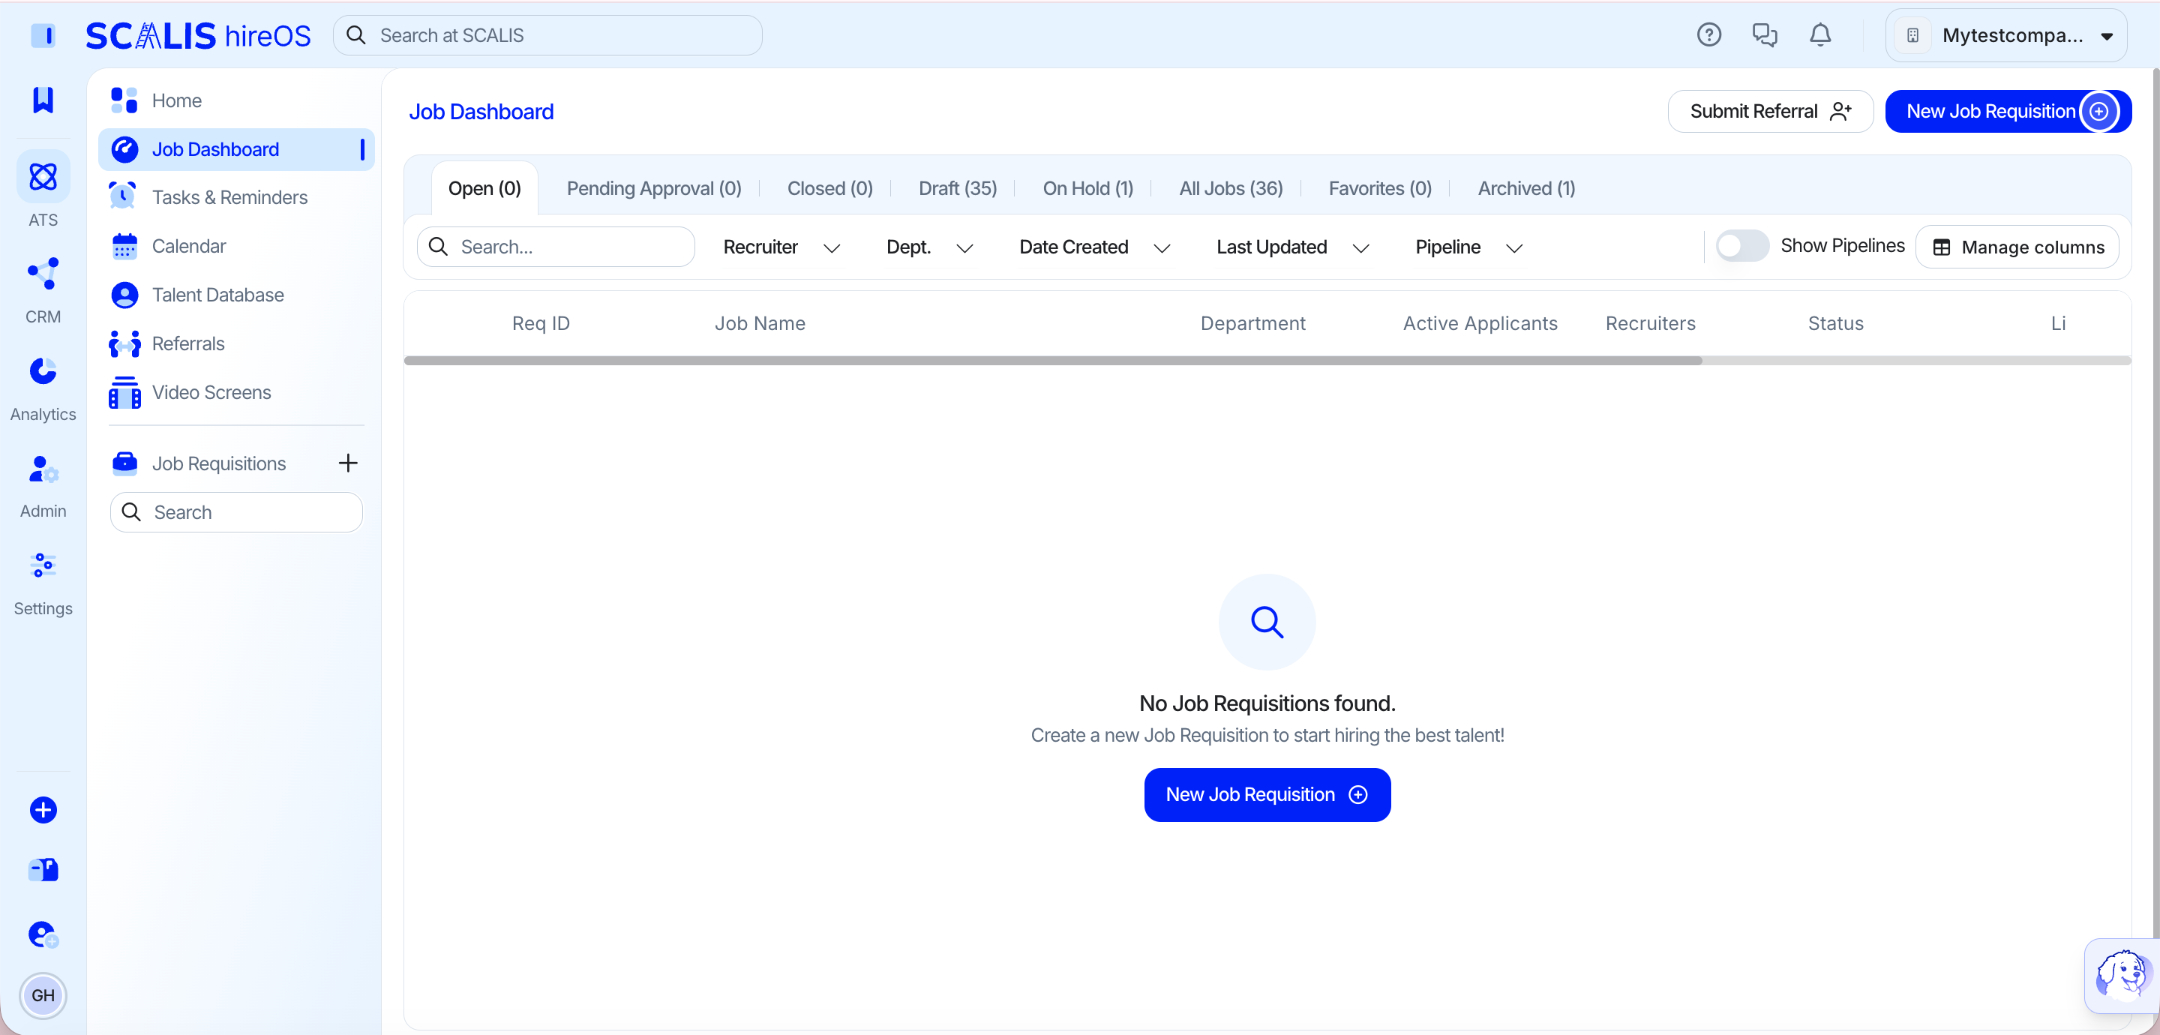
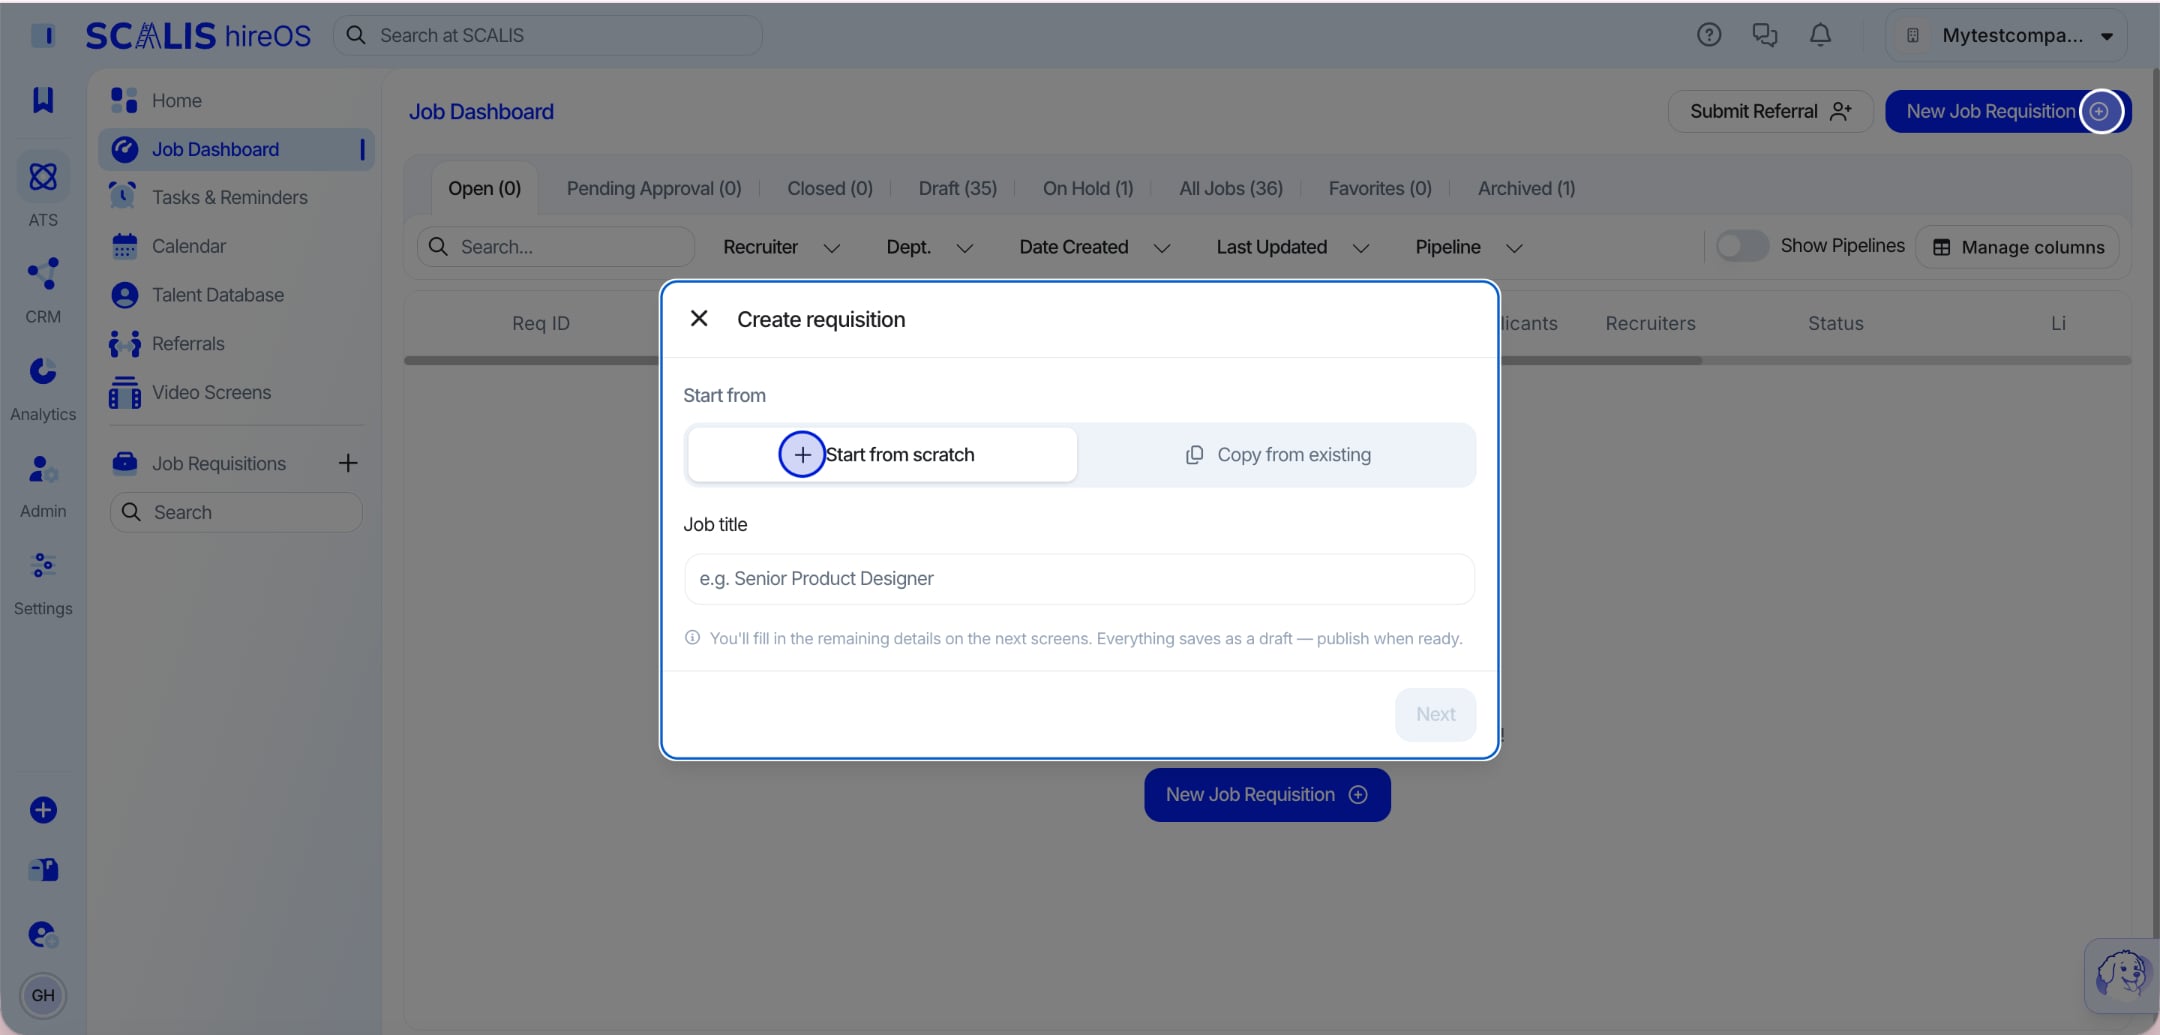
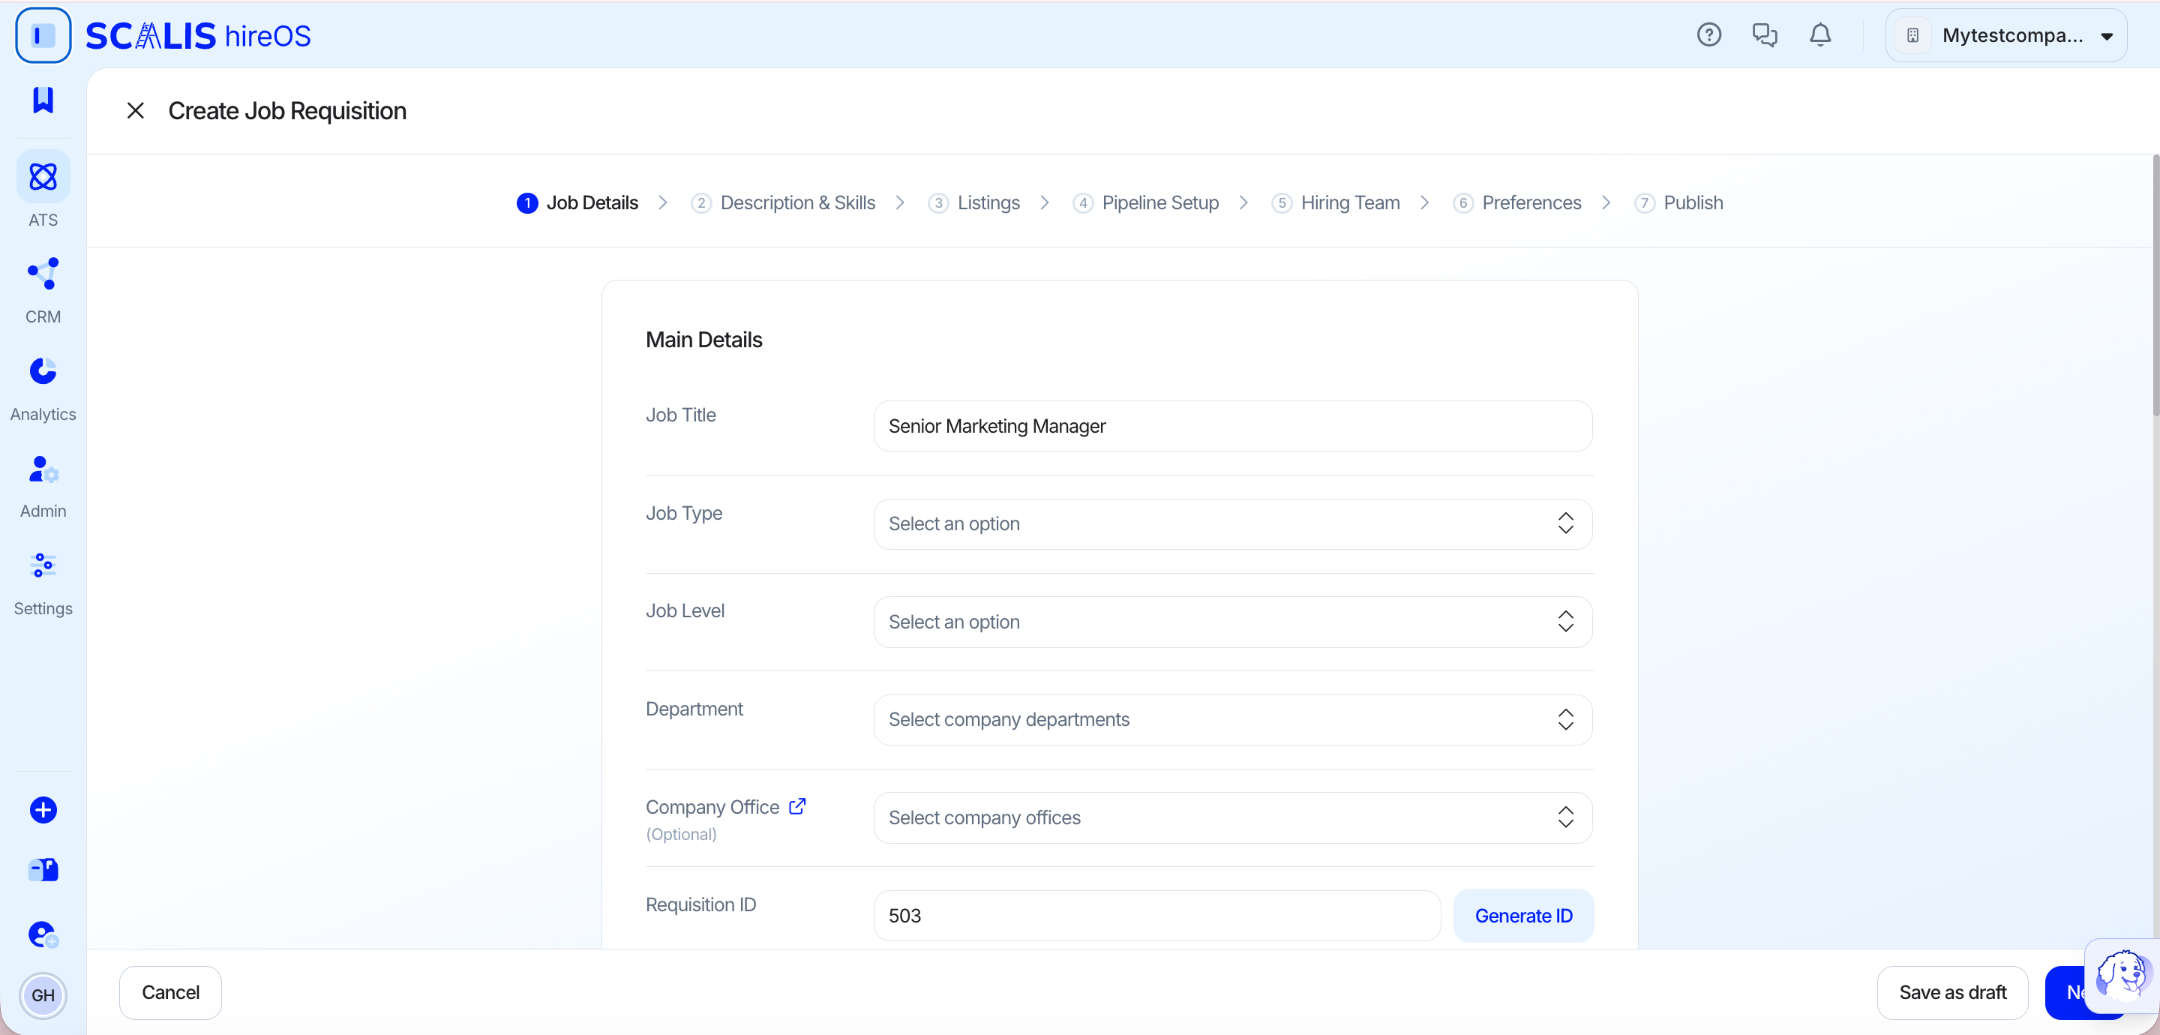
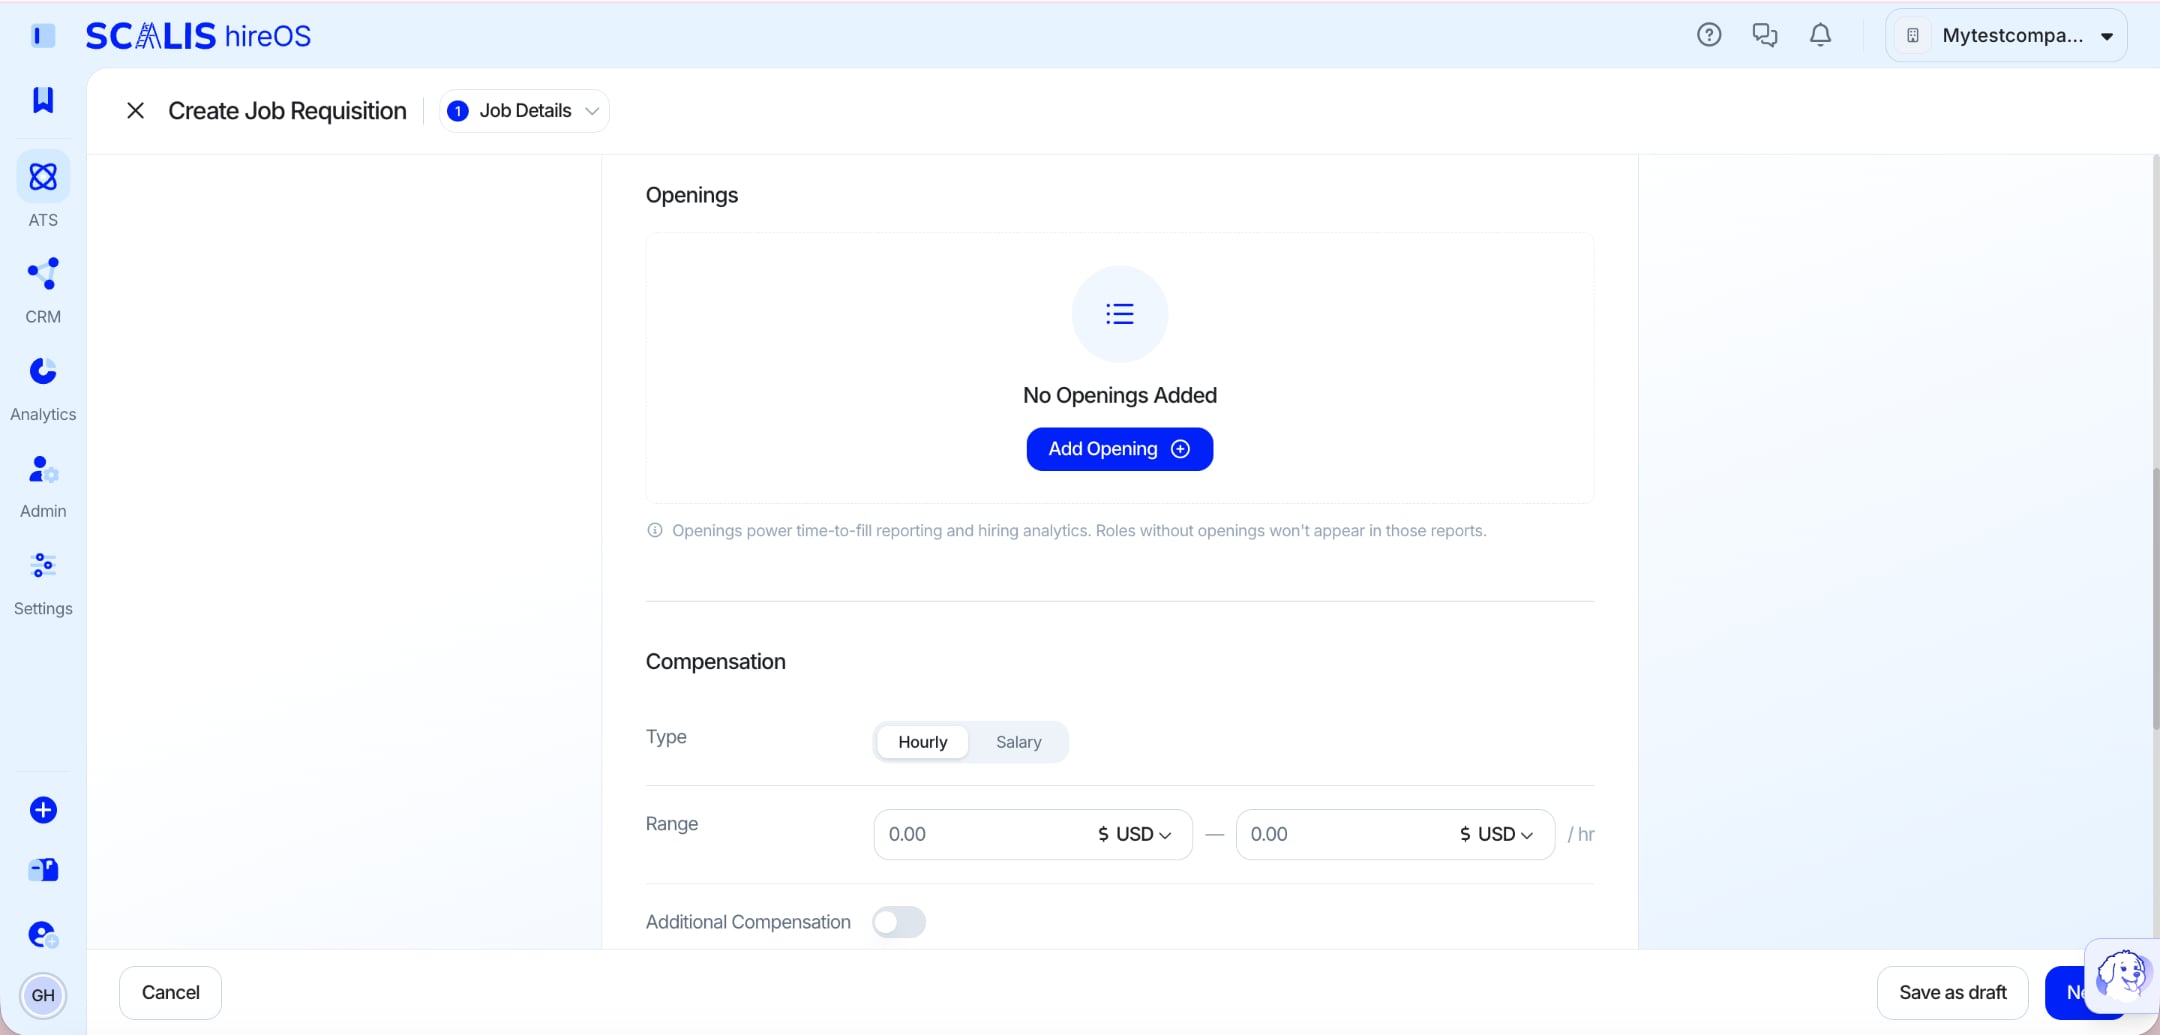
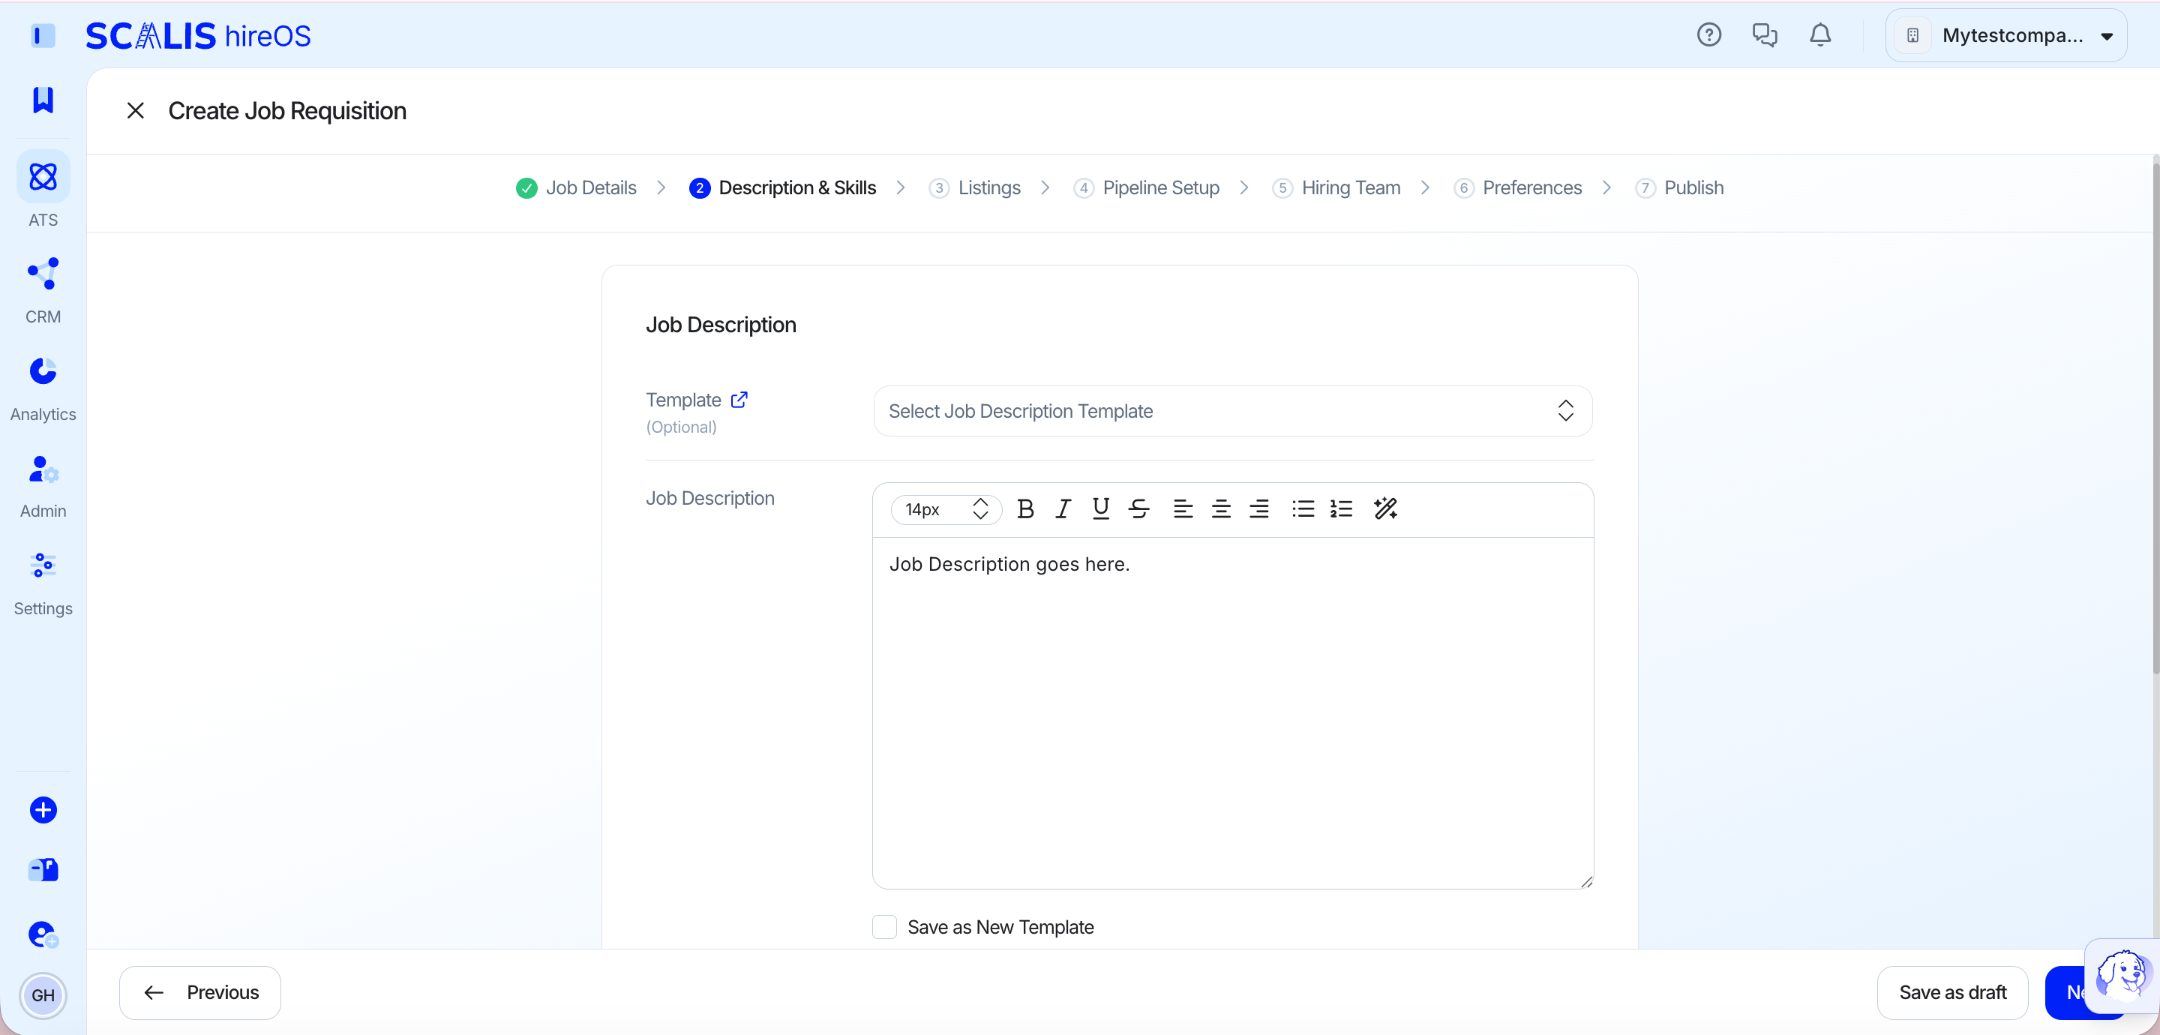
In SCALIS, the job requisition serves as a centralized record and starting point for the recruitment process, keeping HR, hiring managers, and other stakeholders aligned.
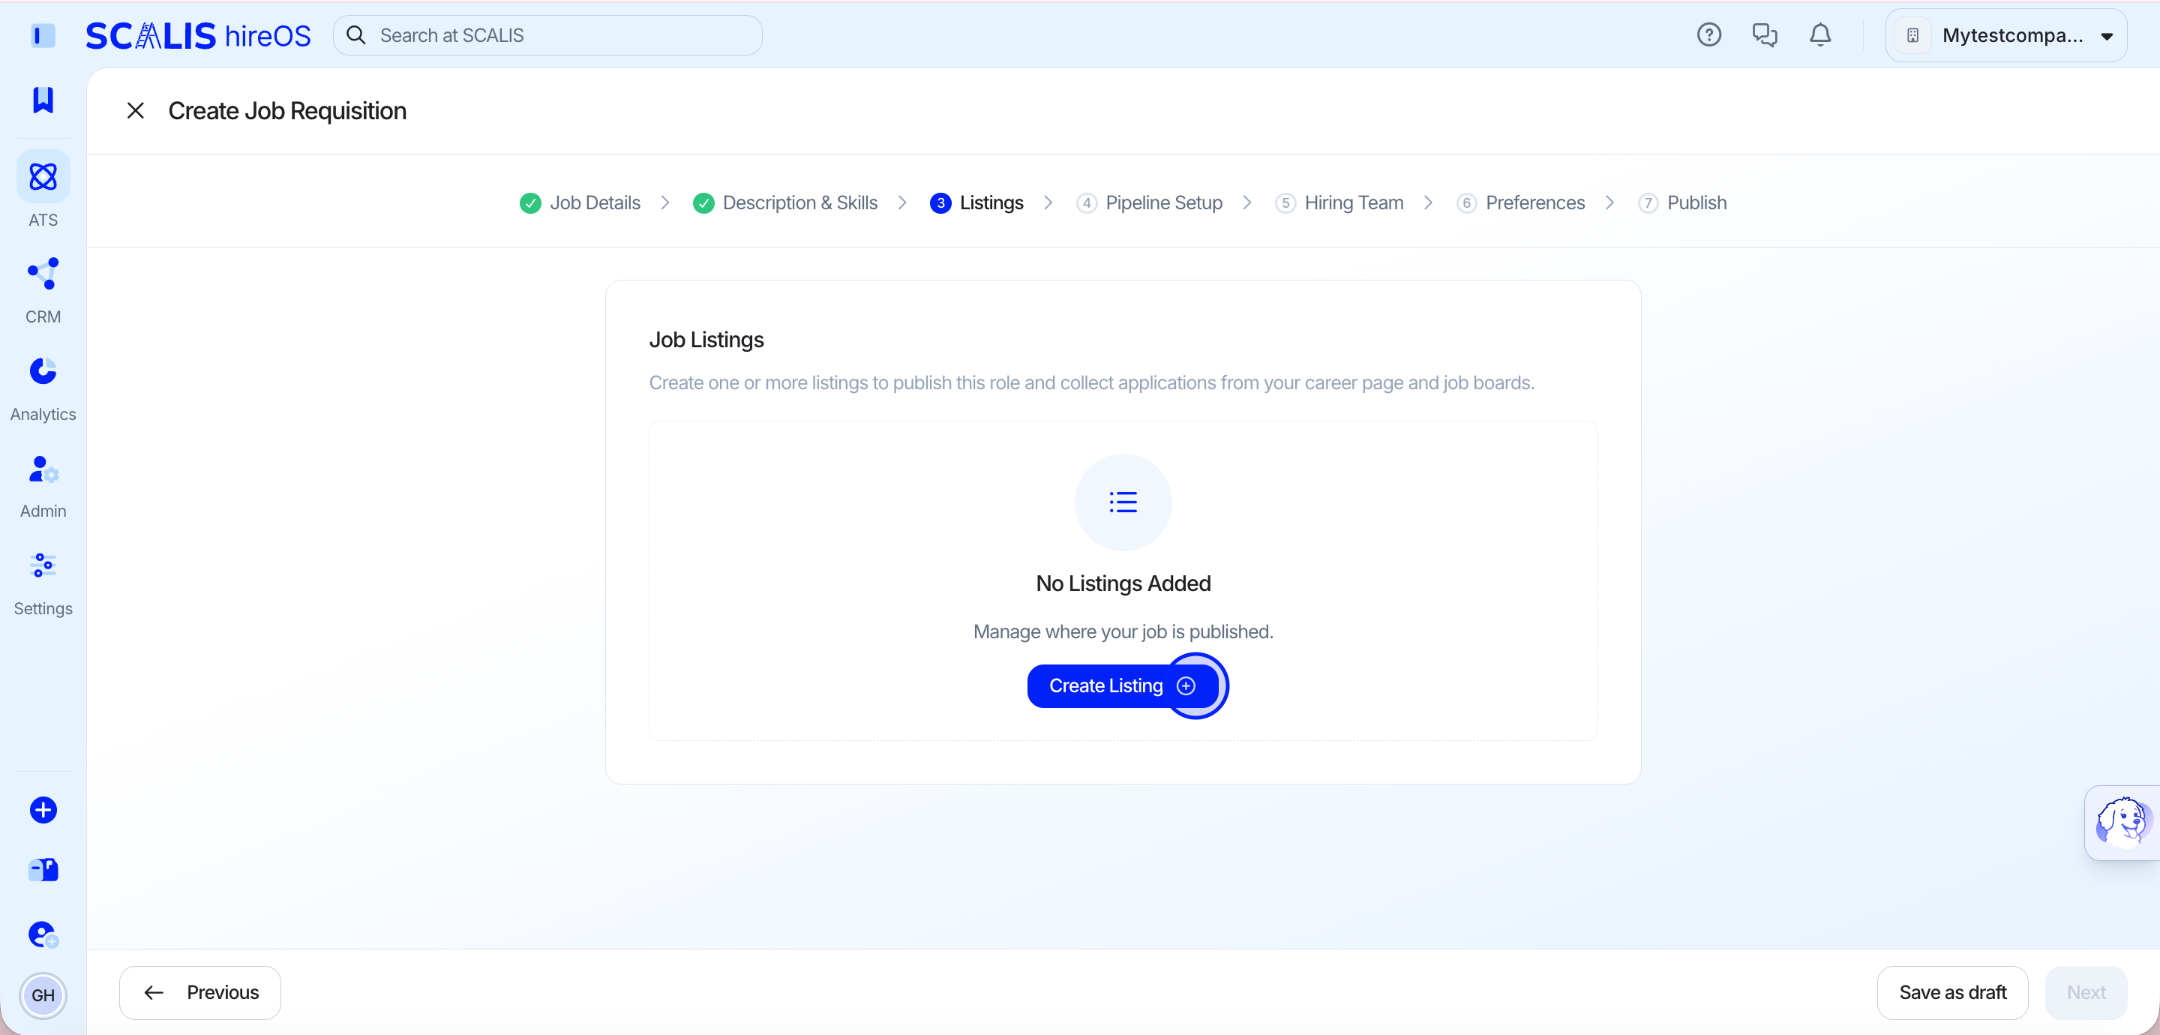
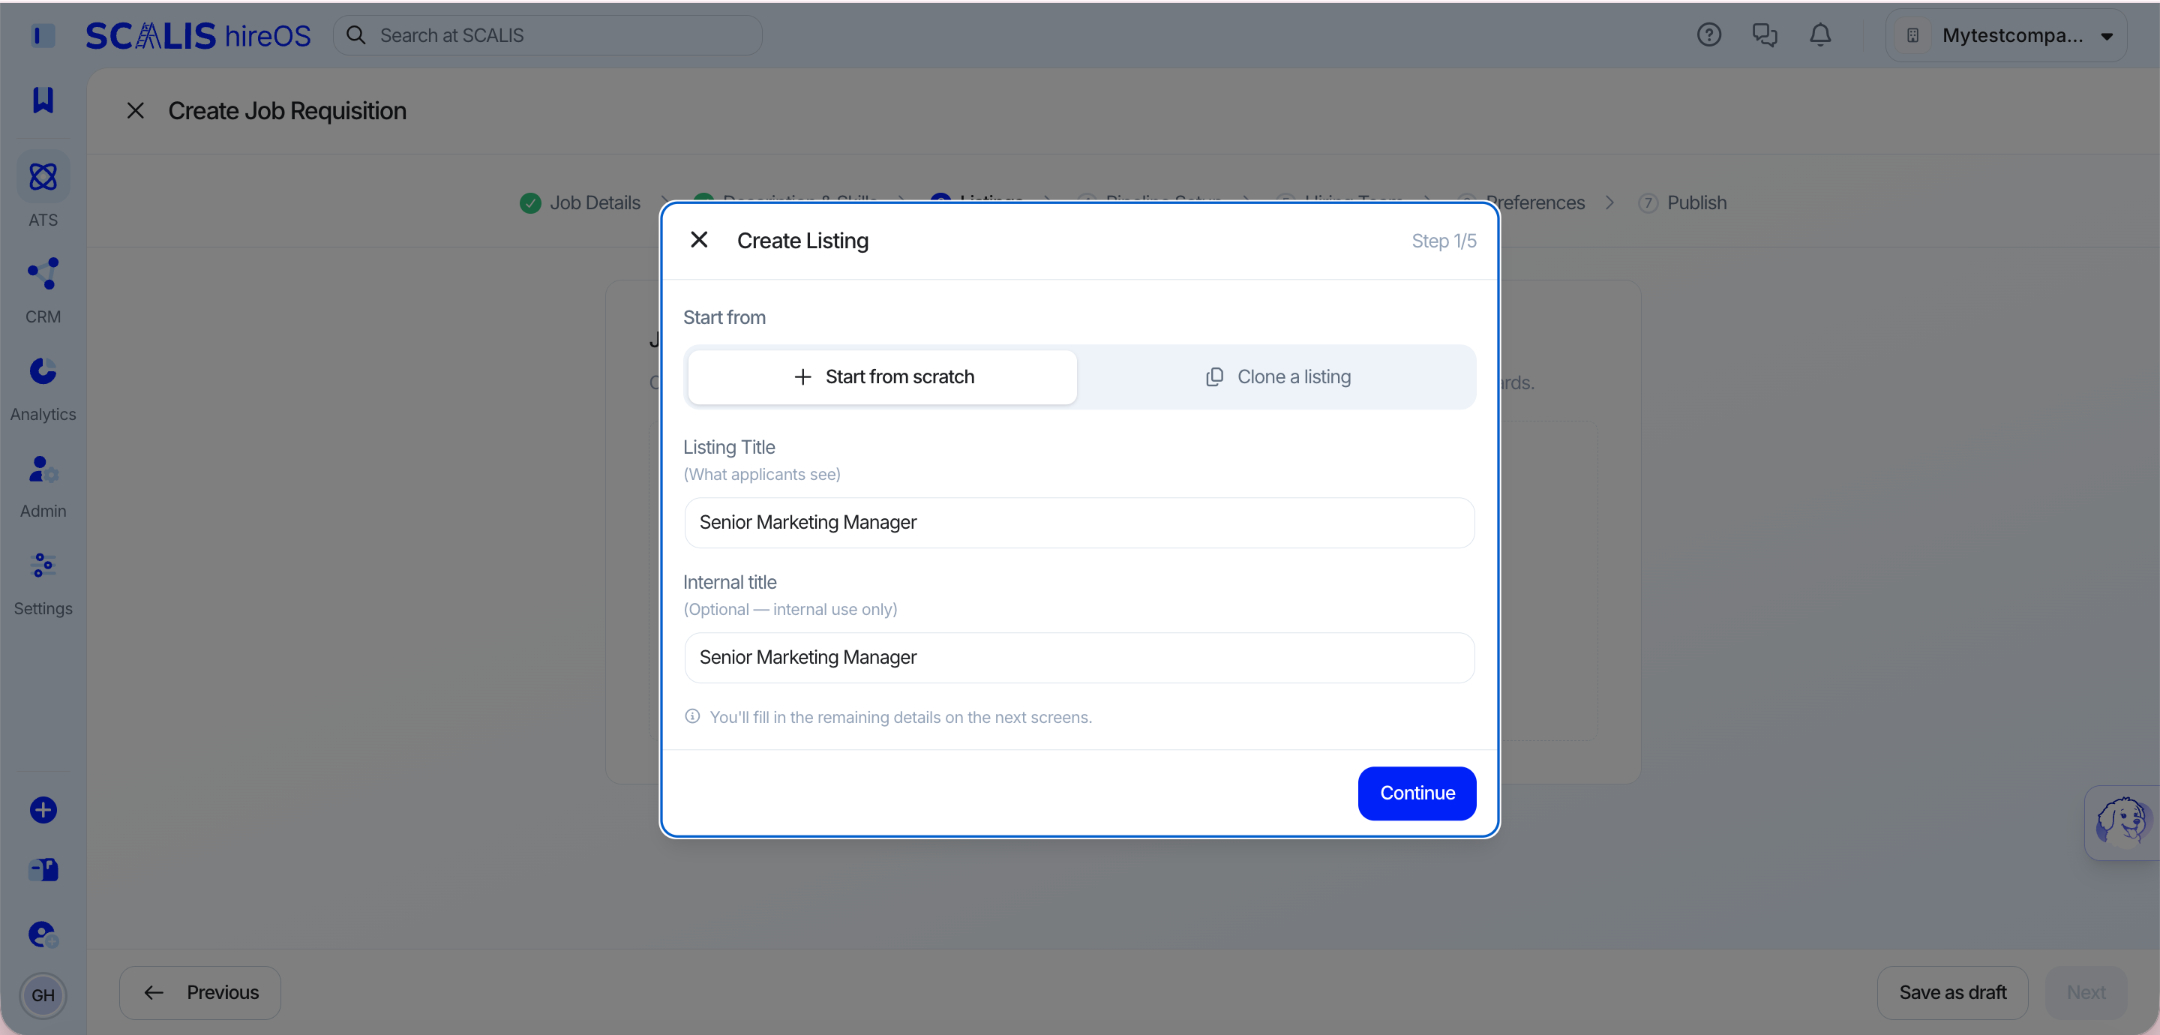
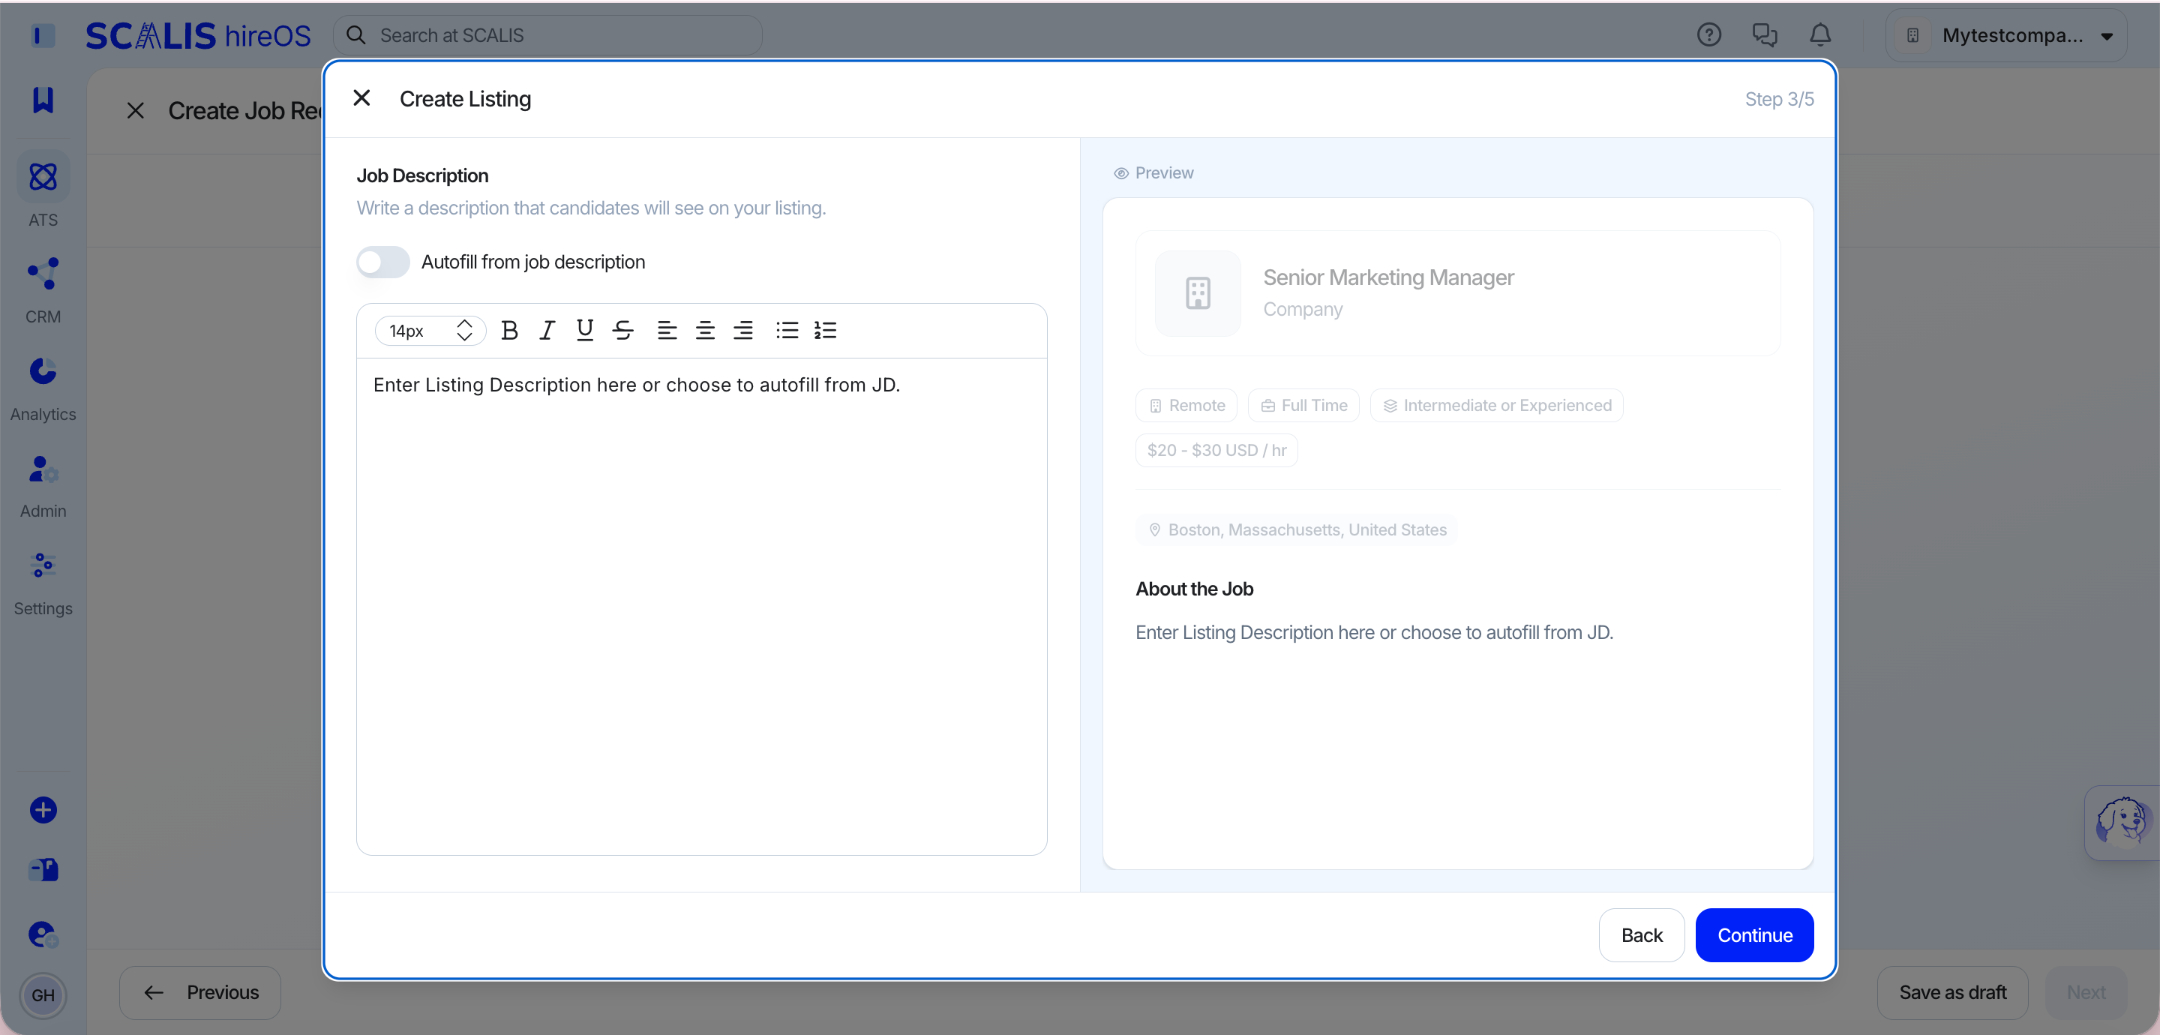
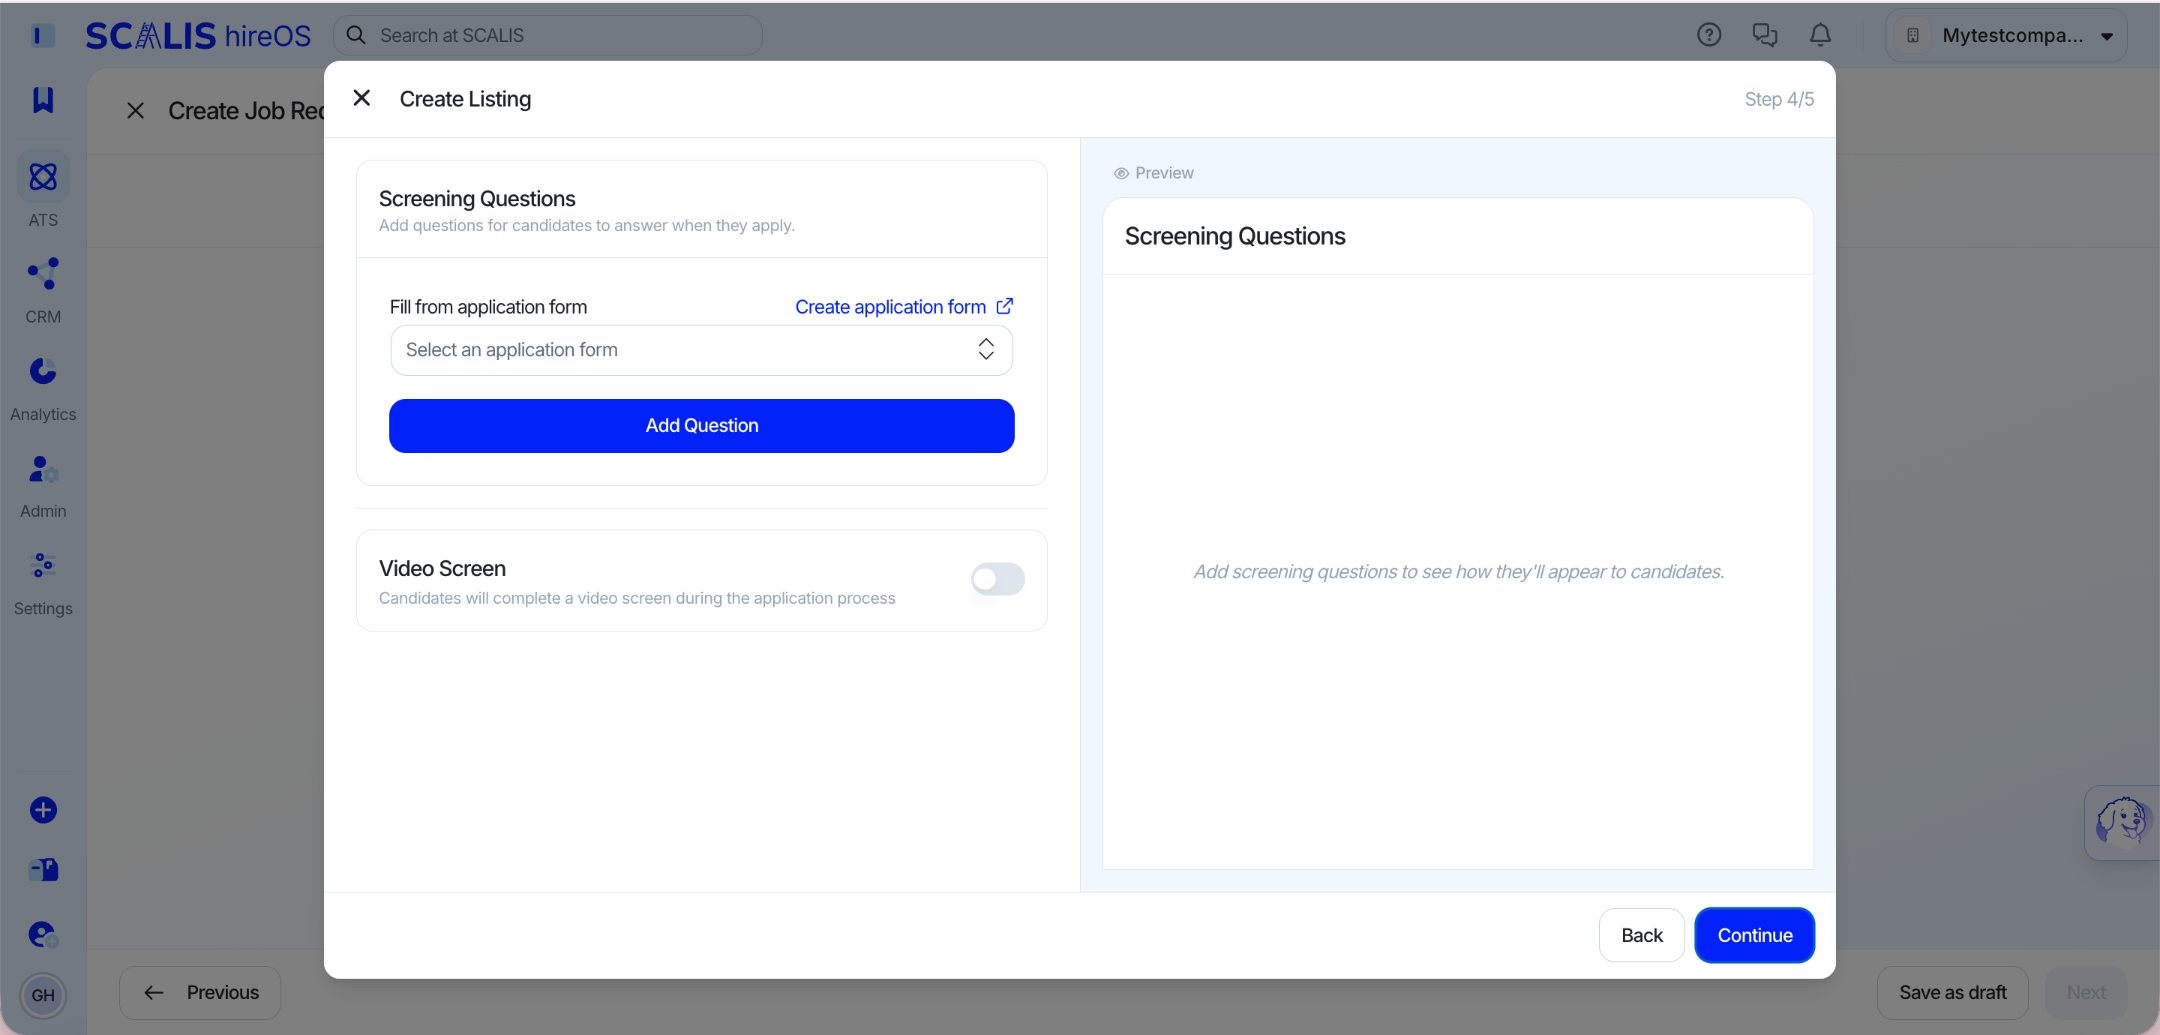
Job Listings are the external version of your job description and are designed to attract candidates. Multiple job listings can be associated with a single job requisition.
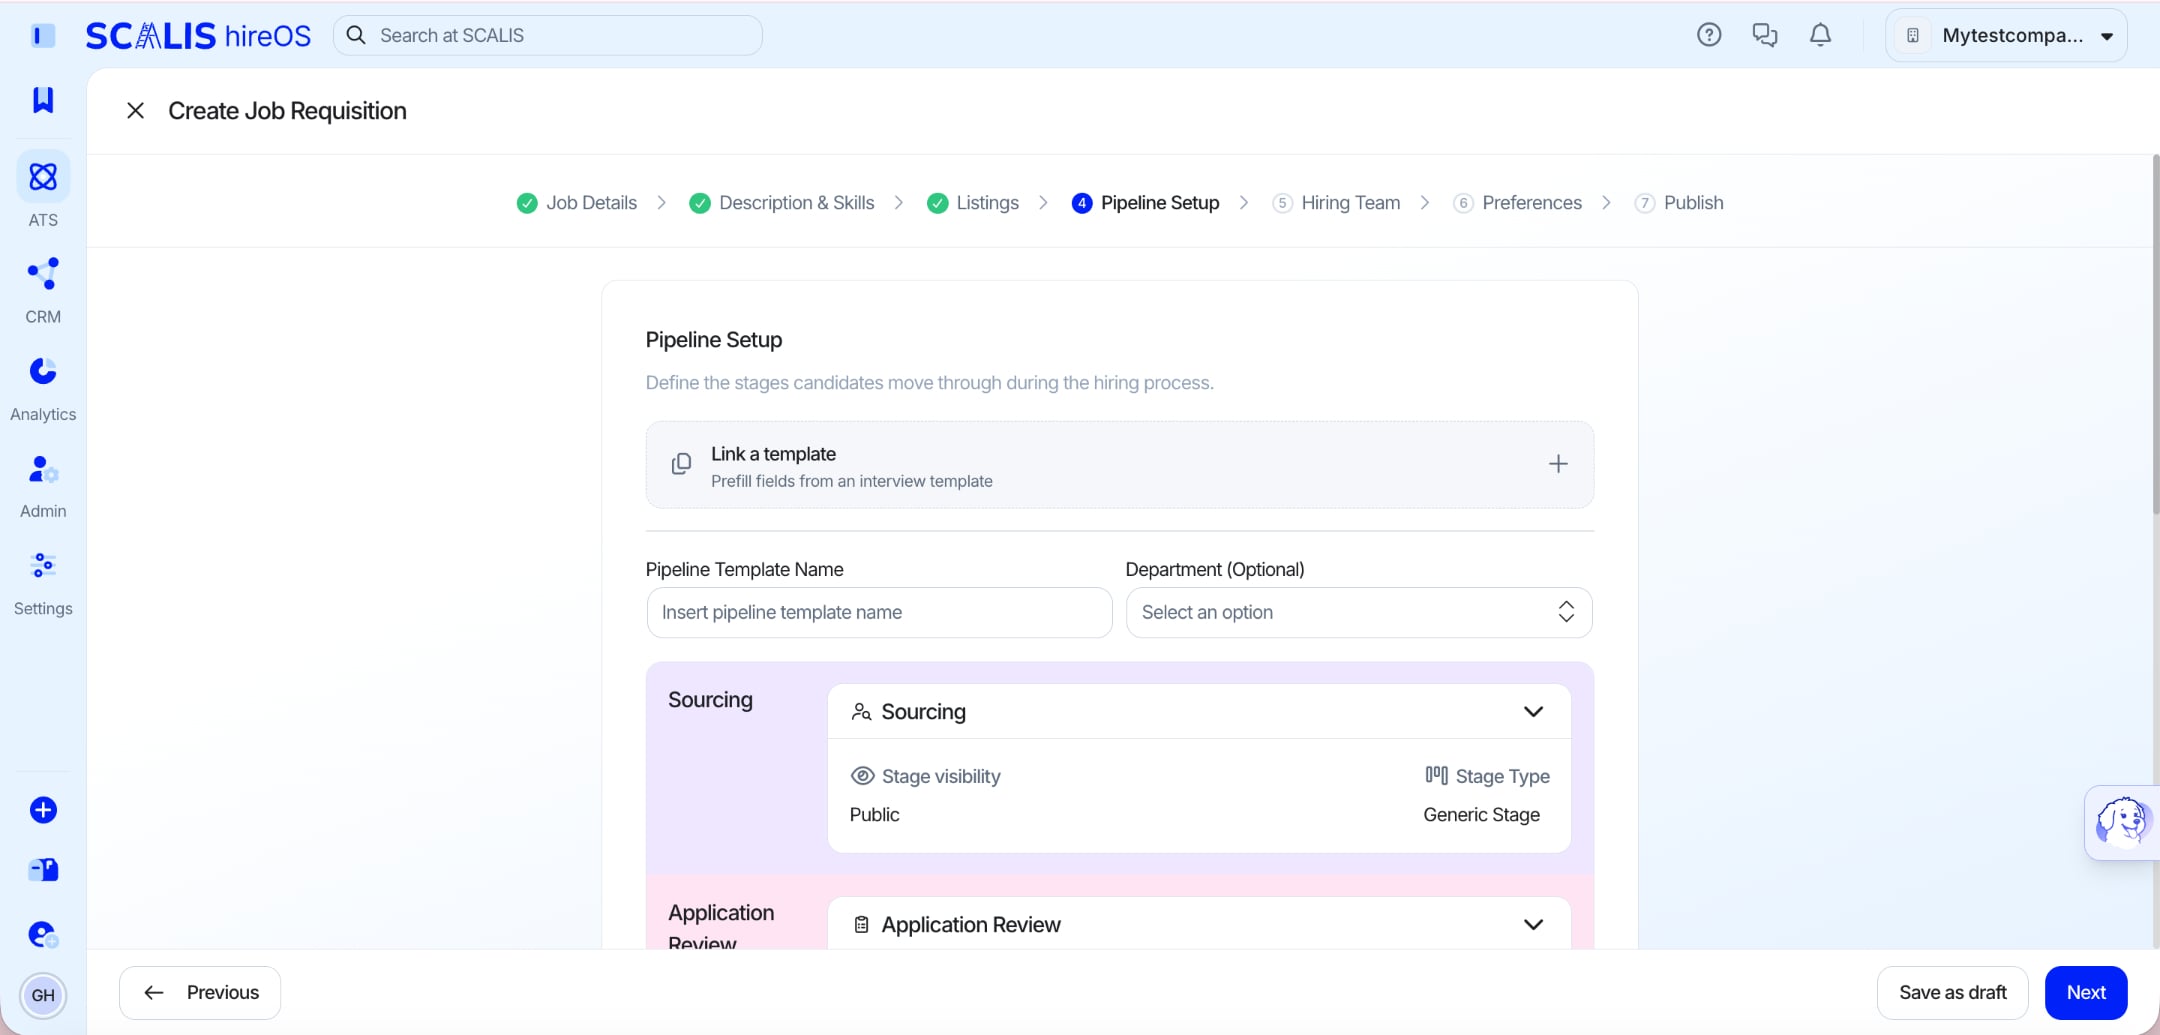
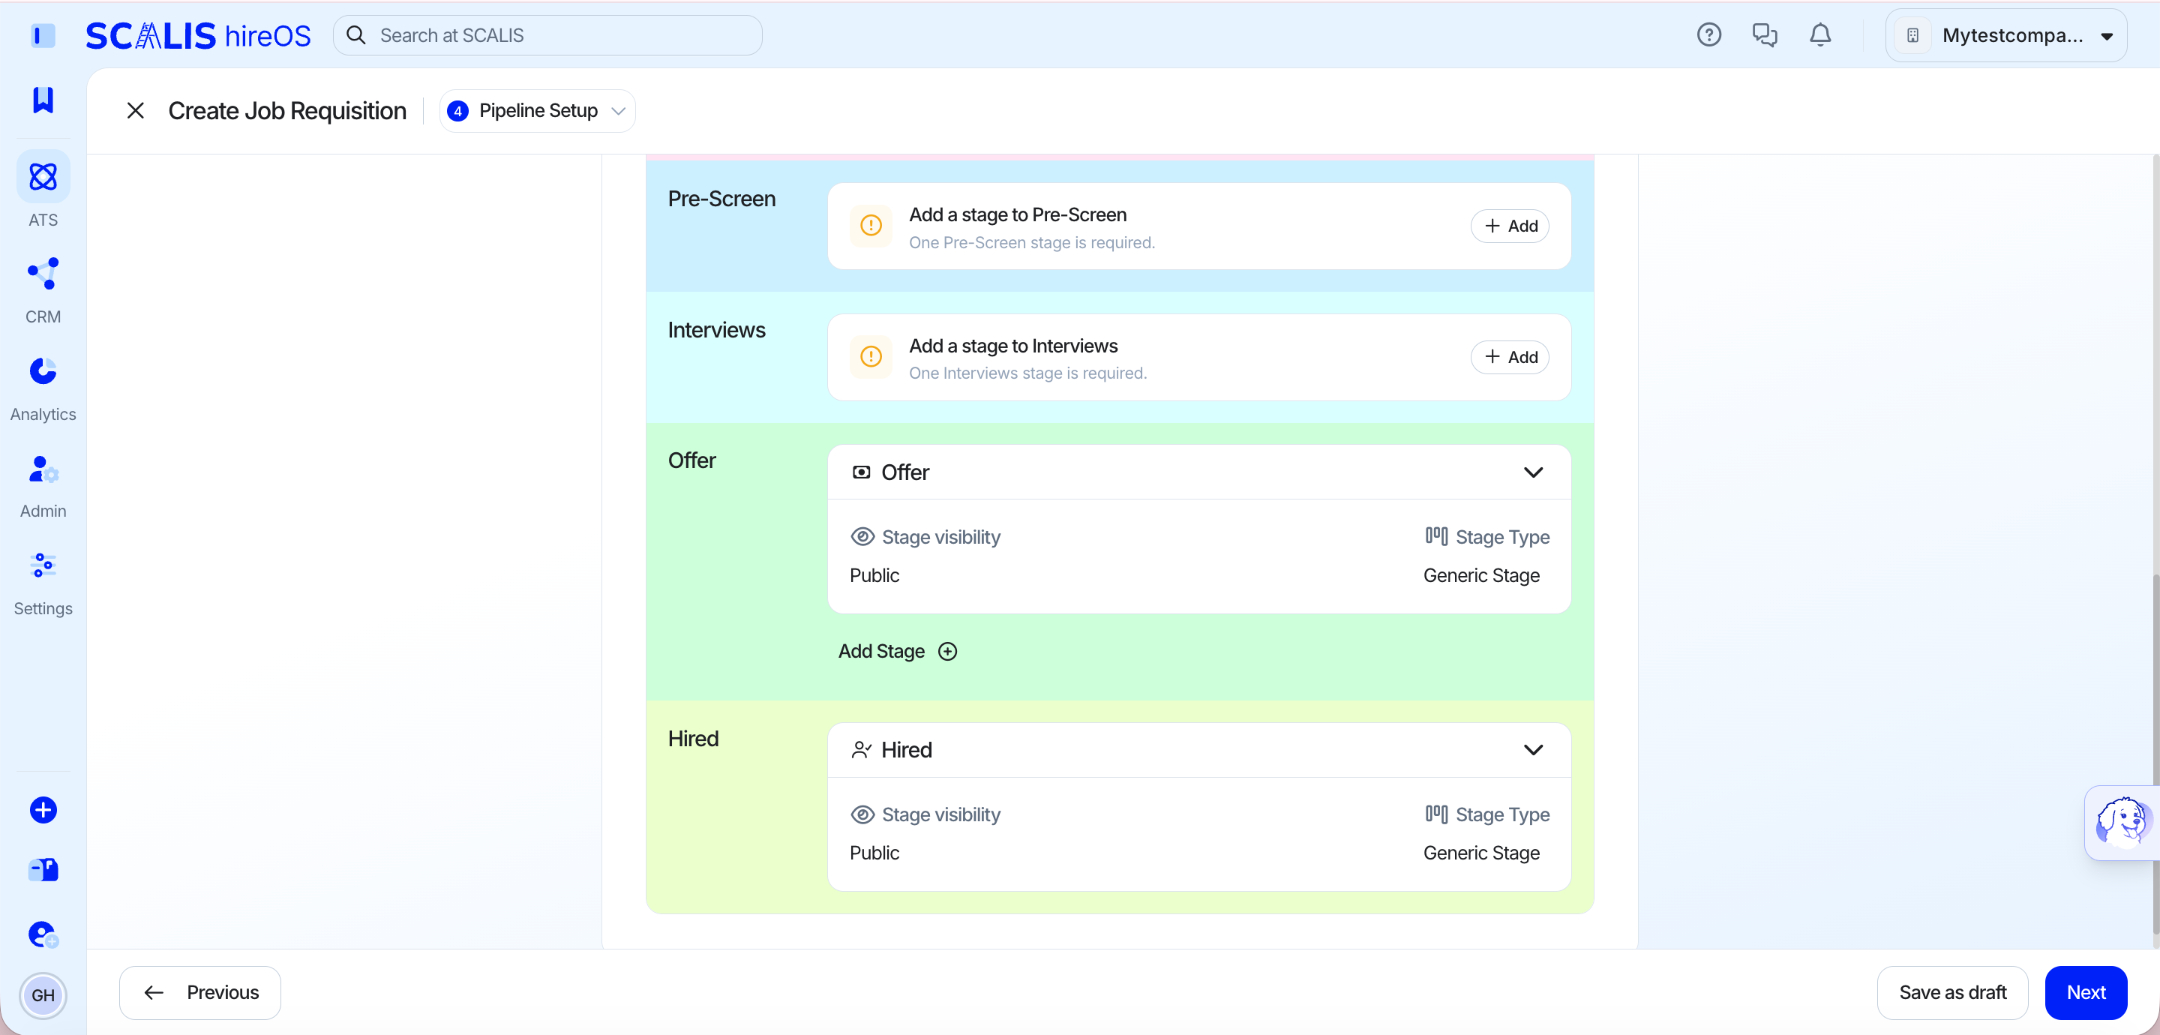
Pipeline templates help your hiring team maintain a consistent hiring process across job requisitions. Learn how to set up a pipeline template and the different interview stage types here.
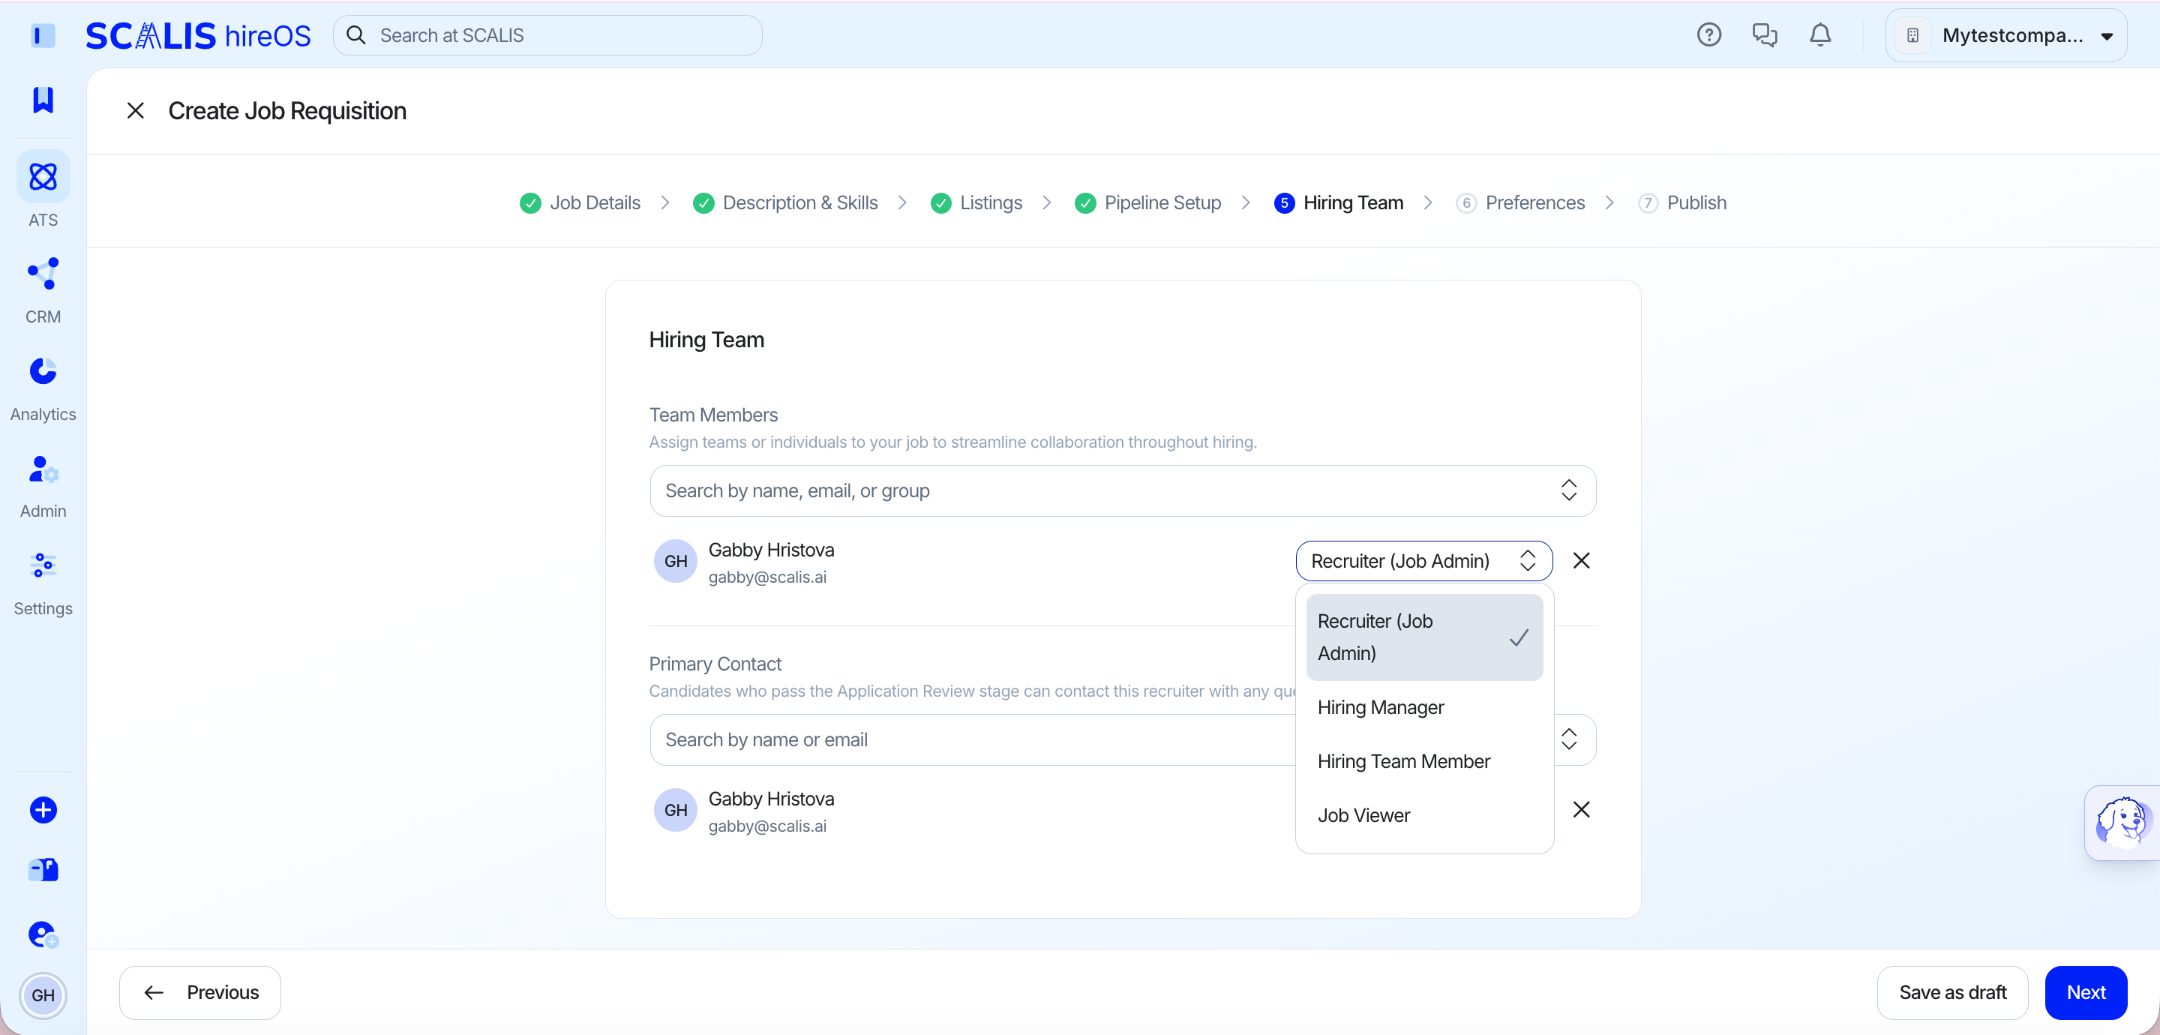
Your hiring team is created automatically from the people added to the interview stages when you set up your pipeline.
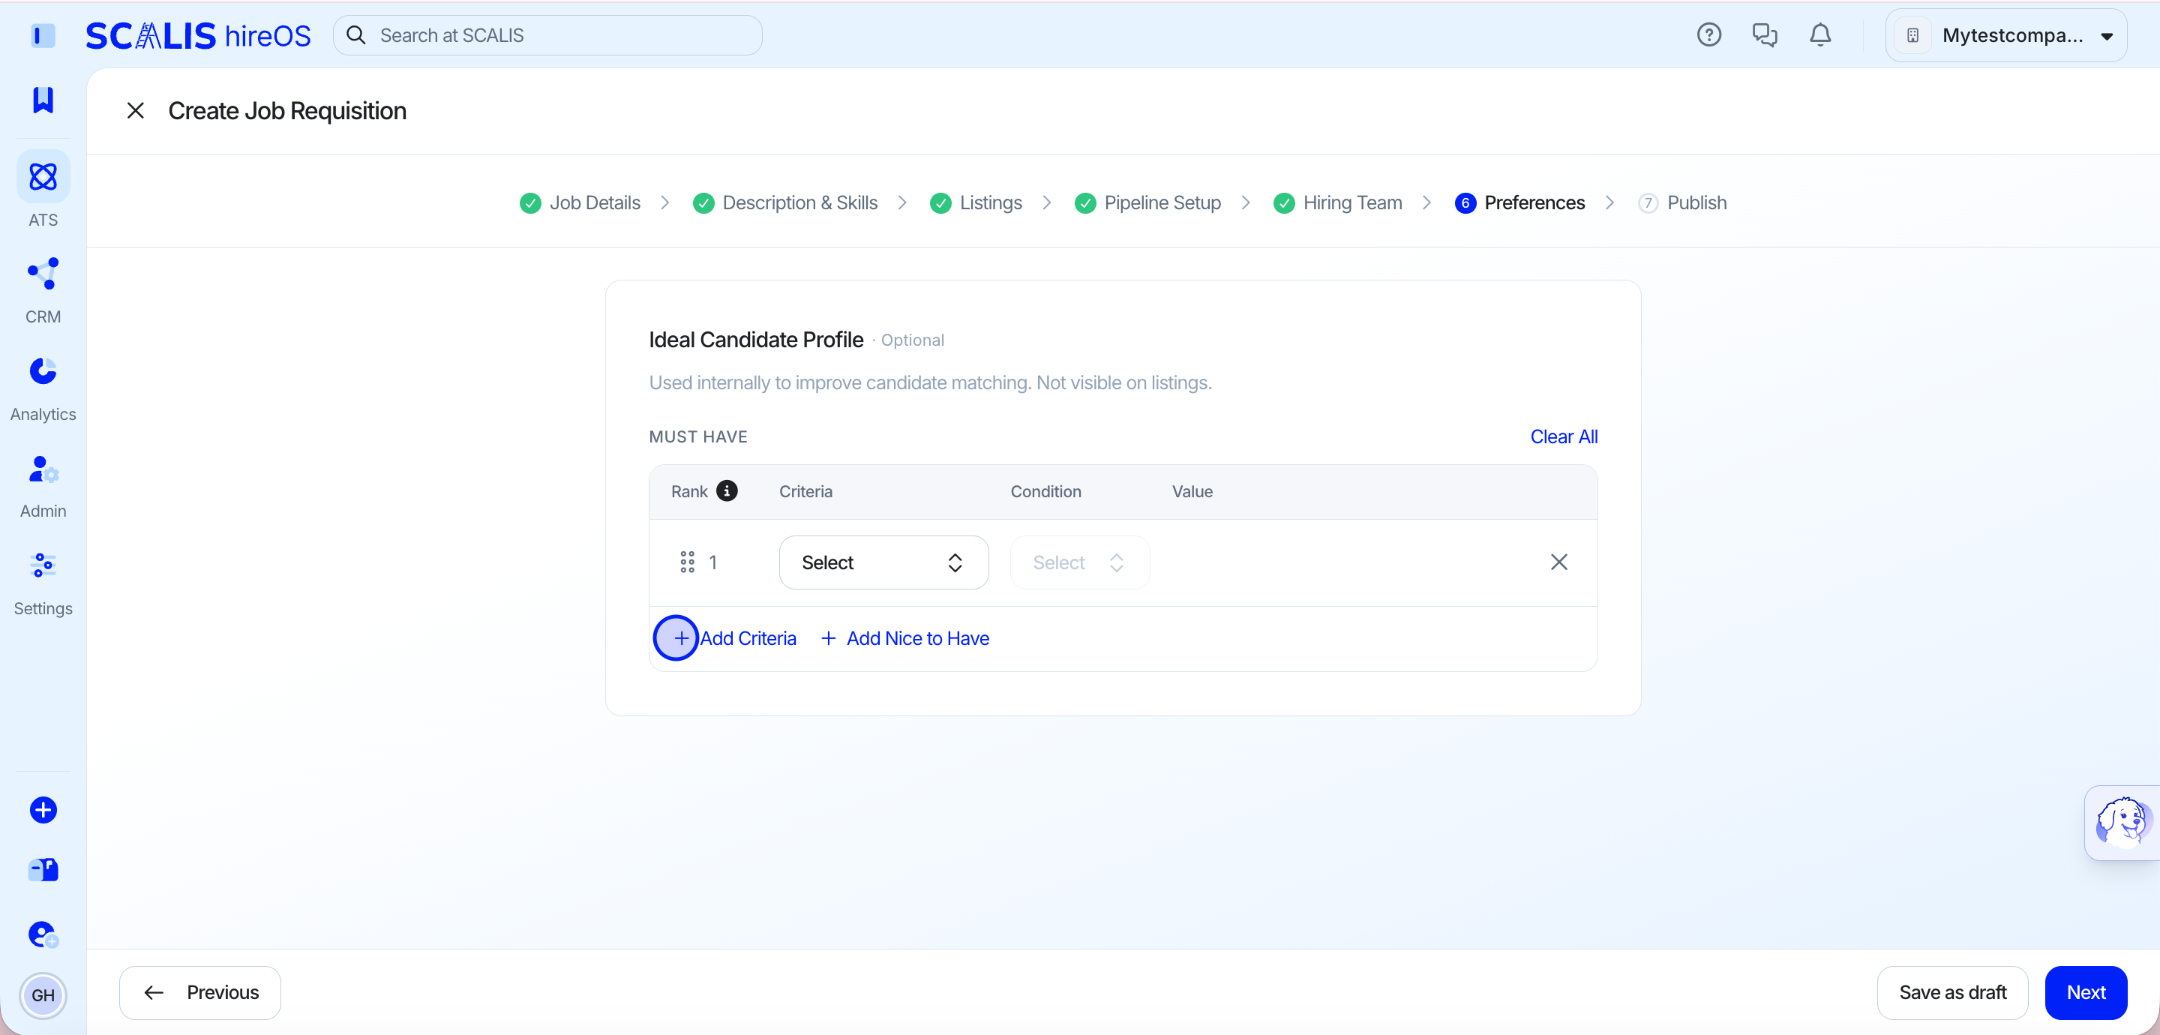
Define your preferences to identify your ideal candidate profile. This is used internally to improve candidate matching and match scores and is not visible on your listings. This step is optional.
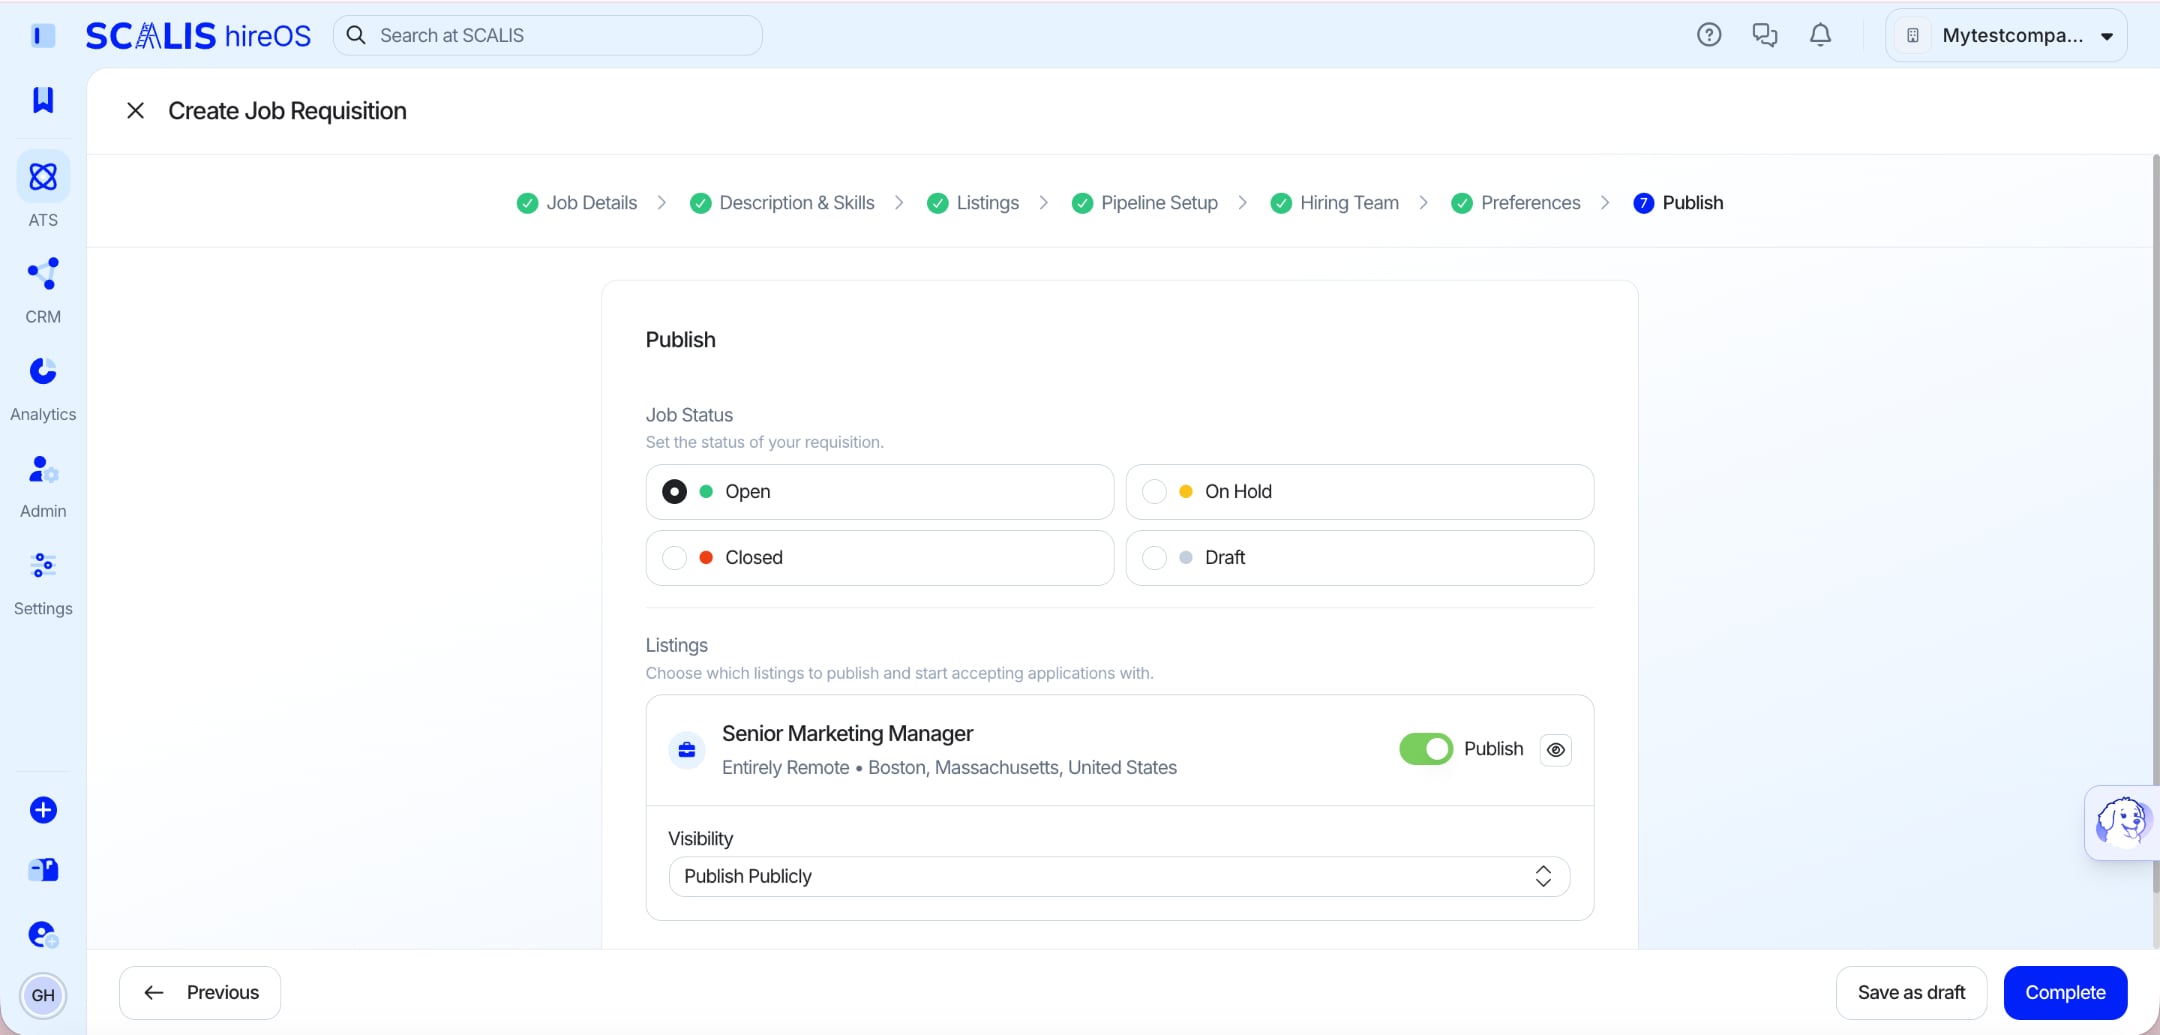
Your job is now live and ready to attract candidates. Reach out to your customer success manager if you need any additional help, or visit our knowledge base here.