.png?width=1391&height=437&name=SCALIS%20Logo%20(1).png)
Tip! See article outlining the differences between Job Listings & Job Descriptions here.
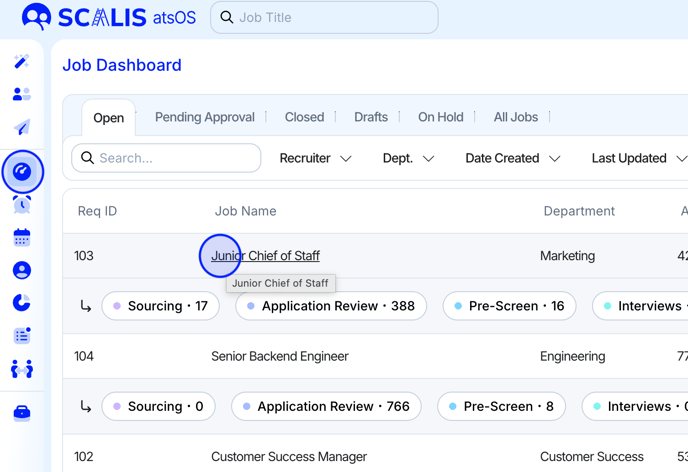
From your Job Dashboard, click the role you would like to add a Job Listing to.
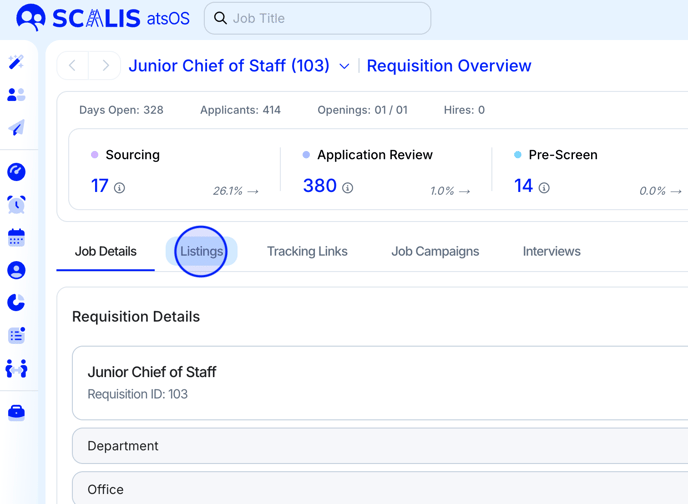
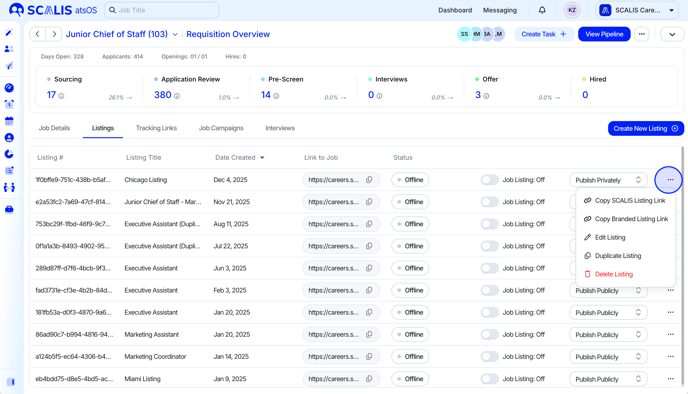
Click the "Listings" tab
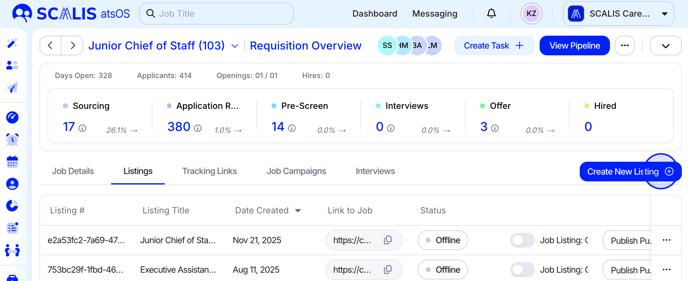
Click "Create New Listing"
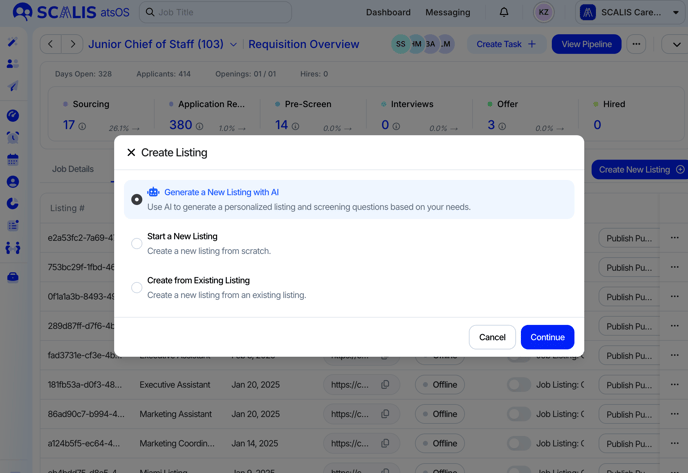
Select how you'd like to create your new listing: generate with AI, start from scratch, or copy an existing one.
Create an Internal Name to call your listing, and then an External Name that your applicants will see on the job board(s).
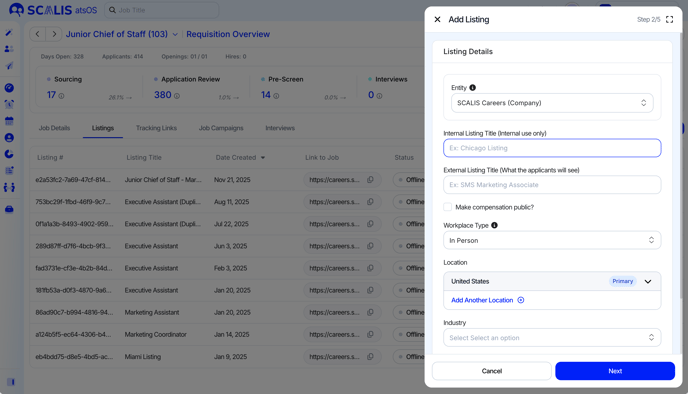
From the workplace type drop down, select whether this role is going to be In-Person, Entirely Remote, or Hybrid. Based on the workplace type, then you will need to enter the location of the role. You can also set more than one Location for the job listing.
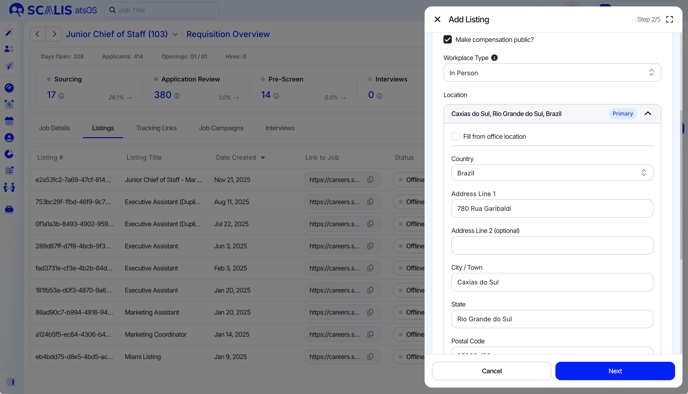
Note: Most third-party job boards still require a location to be entered for Remote Roles.
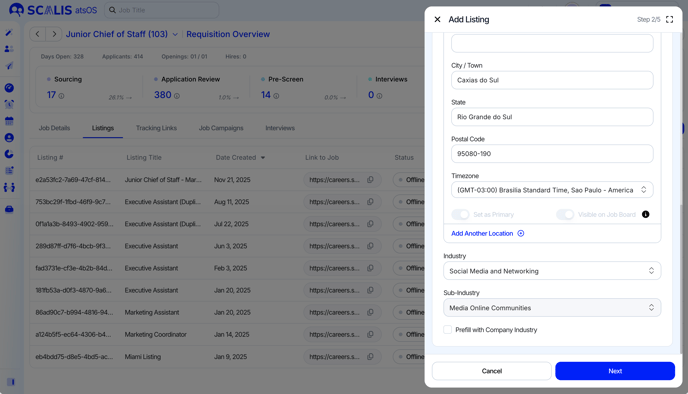
Select your industry & sub-industry. This helps for search and indexing purposes on third party job boards. Click "Next" to continue.
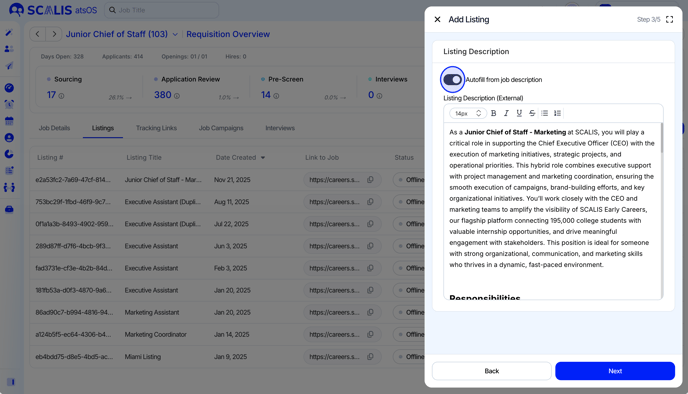
In step 3, you’ll have the option to use your job description to auto-fill the job listing. If you choose to auto-fill, you can review and edit the details before clicking "Next" again.
Next, start adding your screening questions by clicking the "Add Question" button. You can also select from an existing Application Form.

Name your Screening Questions for internal reference. After naming, click “Select Question Type” to choose an answer format. If applicable, you can also set a preferred answer by clicking “Select Preferred Answer” (available for Numerical, Yes/No, and Multiple Choice question types).
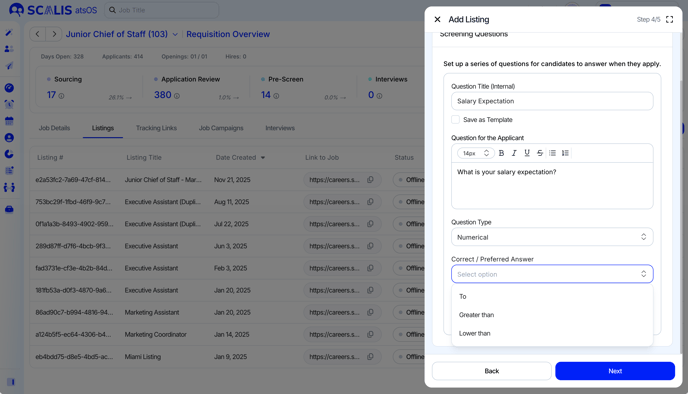
Tip! You can create "Knock-out" questions to auto-reject applicants that don't meet your minimum requirements.
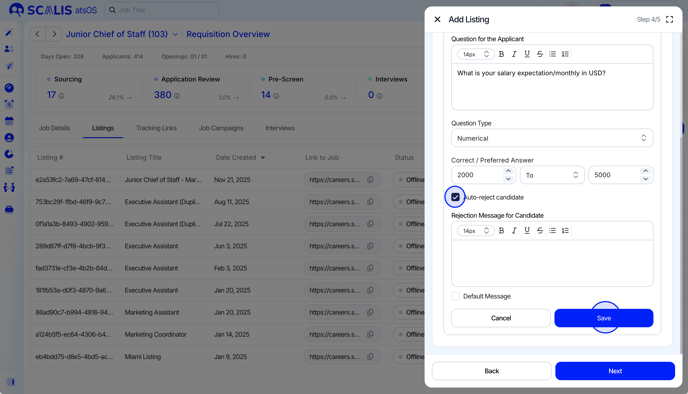
If you want this question to automatically reject applicants based on their answer, click the "Auto-Reject candidate" checkbox. You can also add an email template (by clicking "Default Message") or a custom message to send to the candidate if they get rejected. After finishing, click "Save".
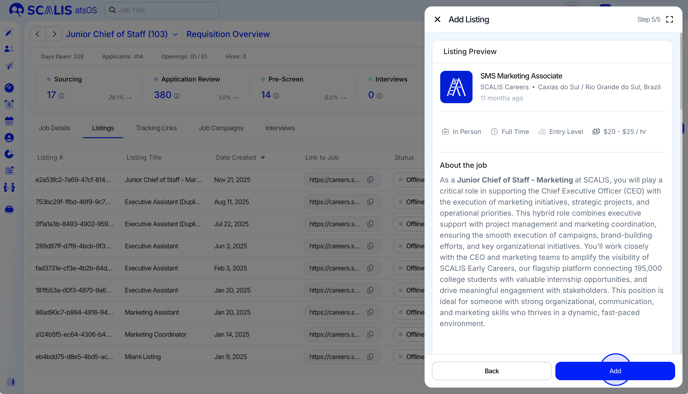
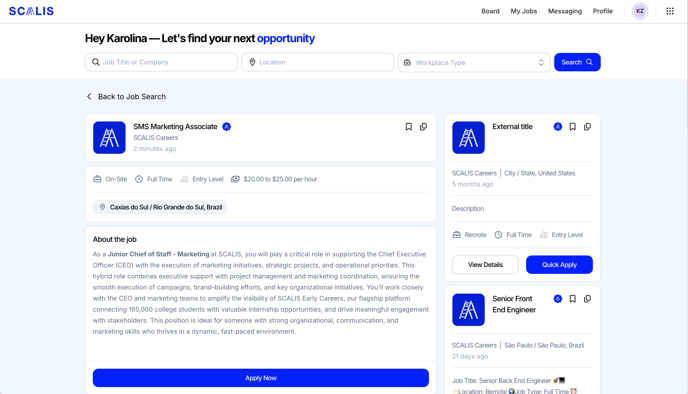
If you want to add additional screening questions, repeat the previous steps. Once done adding your screening questions, click "Next" to preview the job listing. This is what the job listing will look like to applicants. If satisfied, click "Add".
Your job listing will then be added to your job requisition.
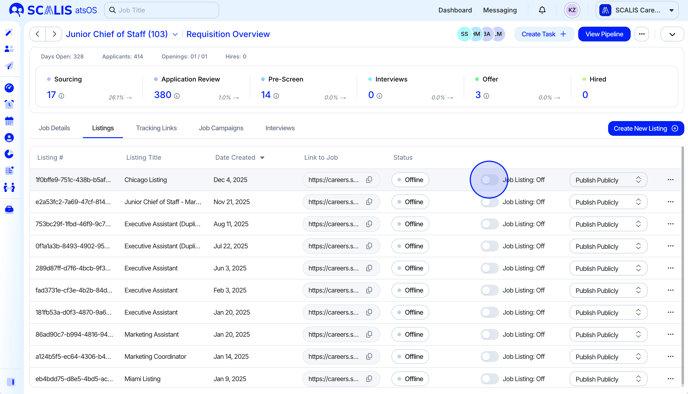
Tip! By default, your listing will remain unpublished until you toggle your listing to "active" to turn it on.
Note: Once you publish your job listing, your job listing will be distributed organically to 20+ job boards including Linkedin Limited Listings, Talent.com, etc.
Please allow up to 48 hours for these jobs to appear on the third party job boards.
Tip! If you want to edit your listing or duplicate it, just click the ellipses next to the listing to do so!
Important! In order for your job listings to remain published, your job requisition must remain open.
If you close your job requisition, that will immediately unpublish it's job listings and no new applicants will be able to apply.