.png?width=1391&height=437&name=SCALIS%20Logo%20(1).png)
JOB SETUP
Interview Templates save time and ensure consistency by pre-defining interview settings such as stage type, scheduling format, interviewers, and scorecards. Once created, templates can be applied directly in the scheduling flow.
5 steps4 min read
1
Step 1
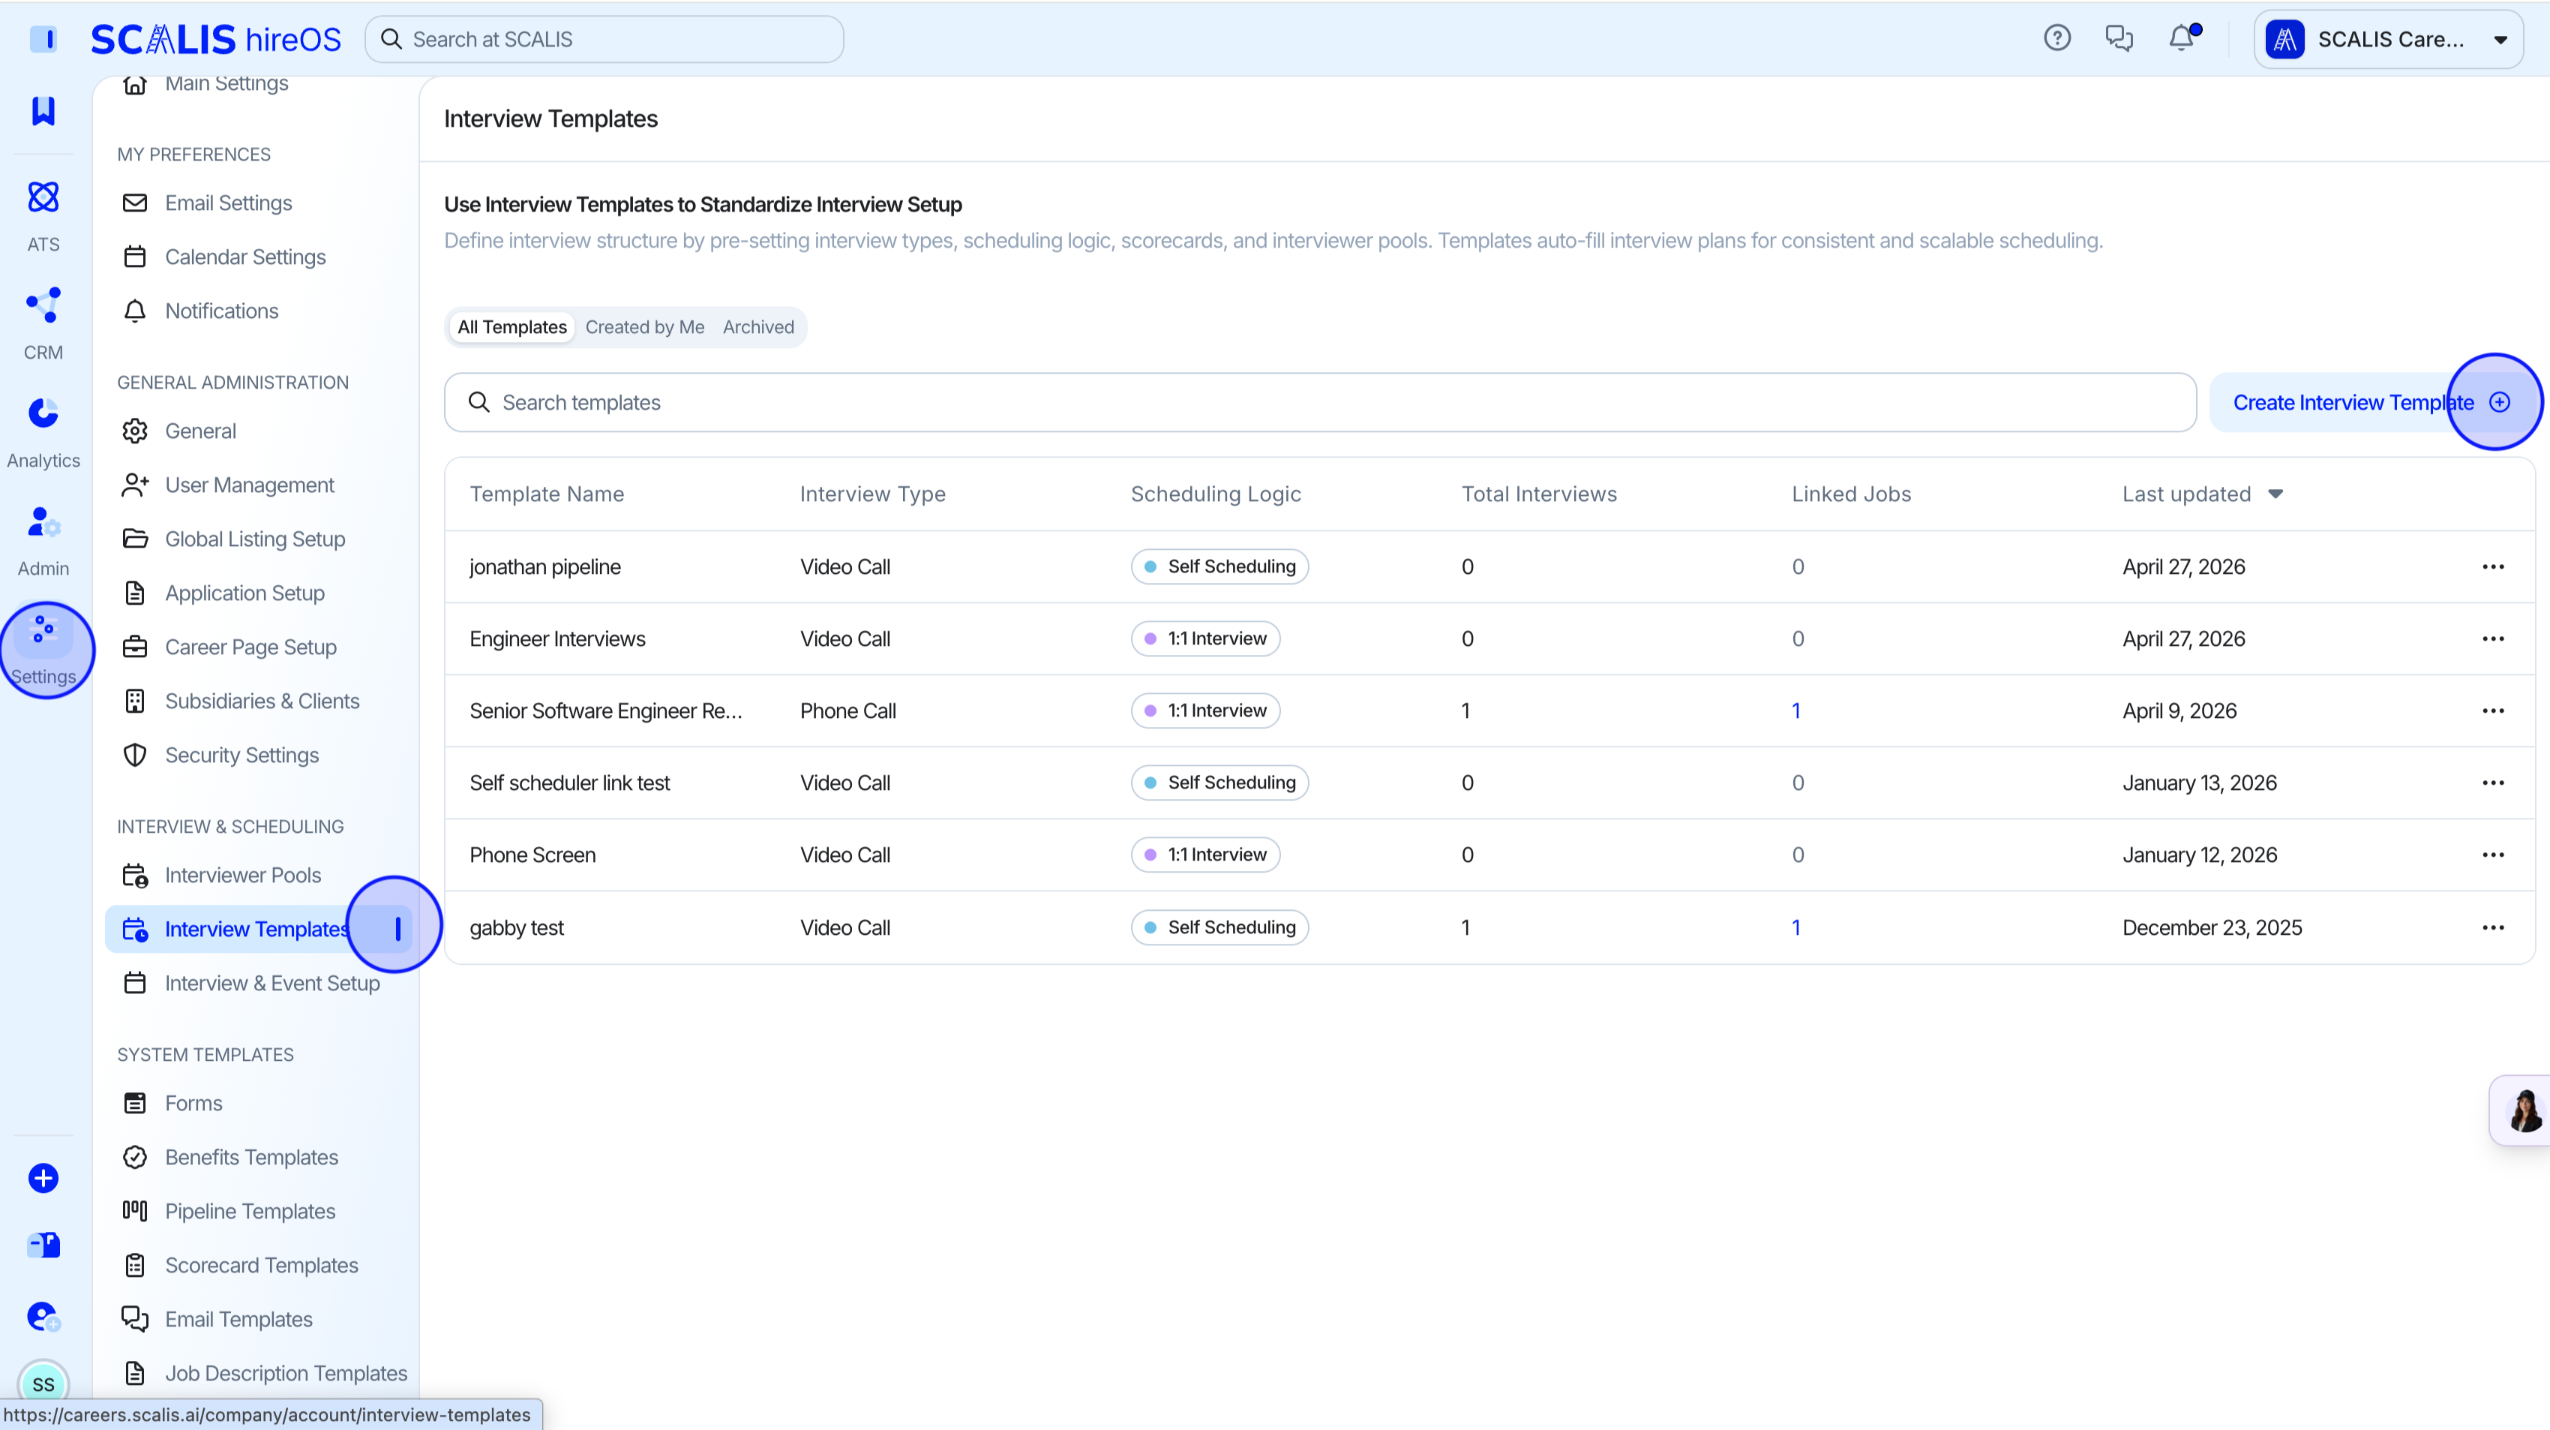
Navigate to Settings
Go to Company Settings > Interview Templates.
2
Step 2
Create a New Template
Click Create Interview Template.
The Interview Template drawer will open.
3
Step 3
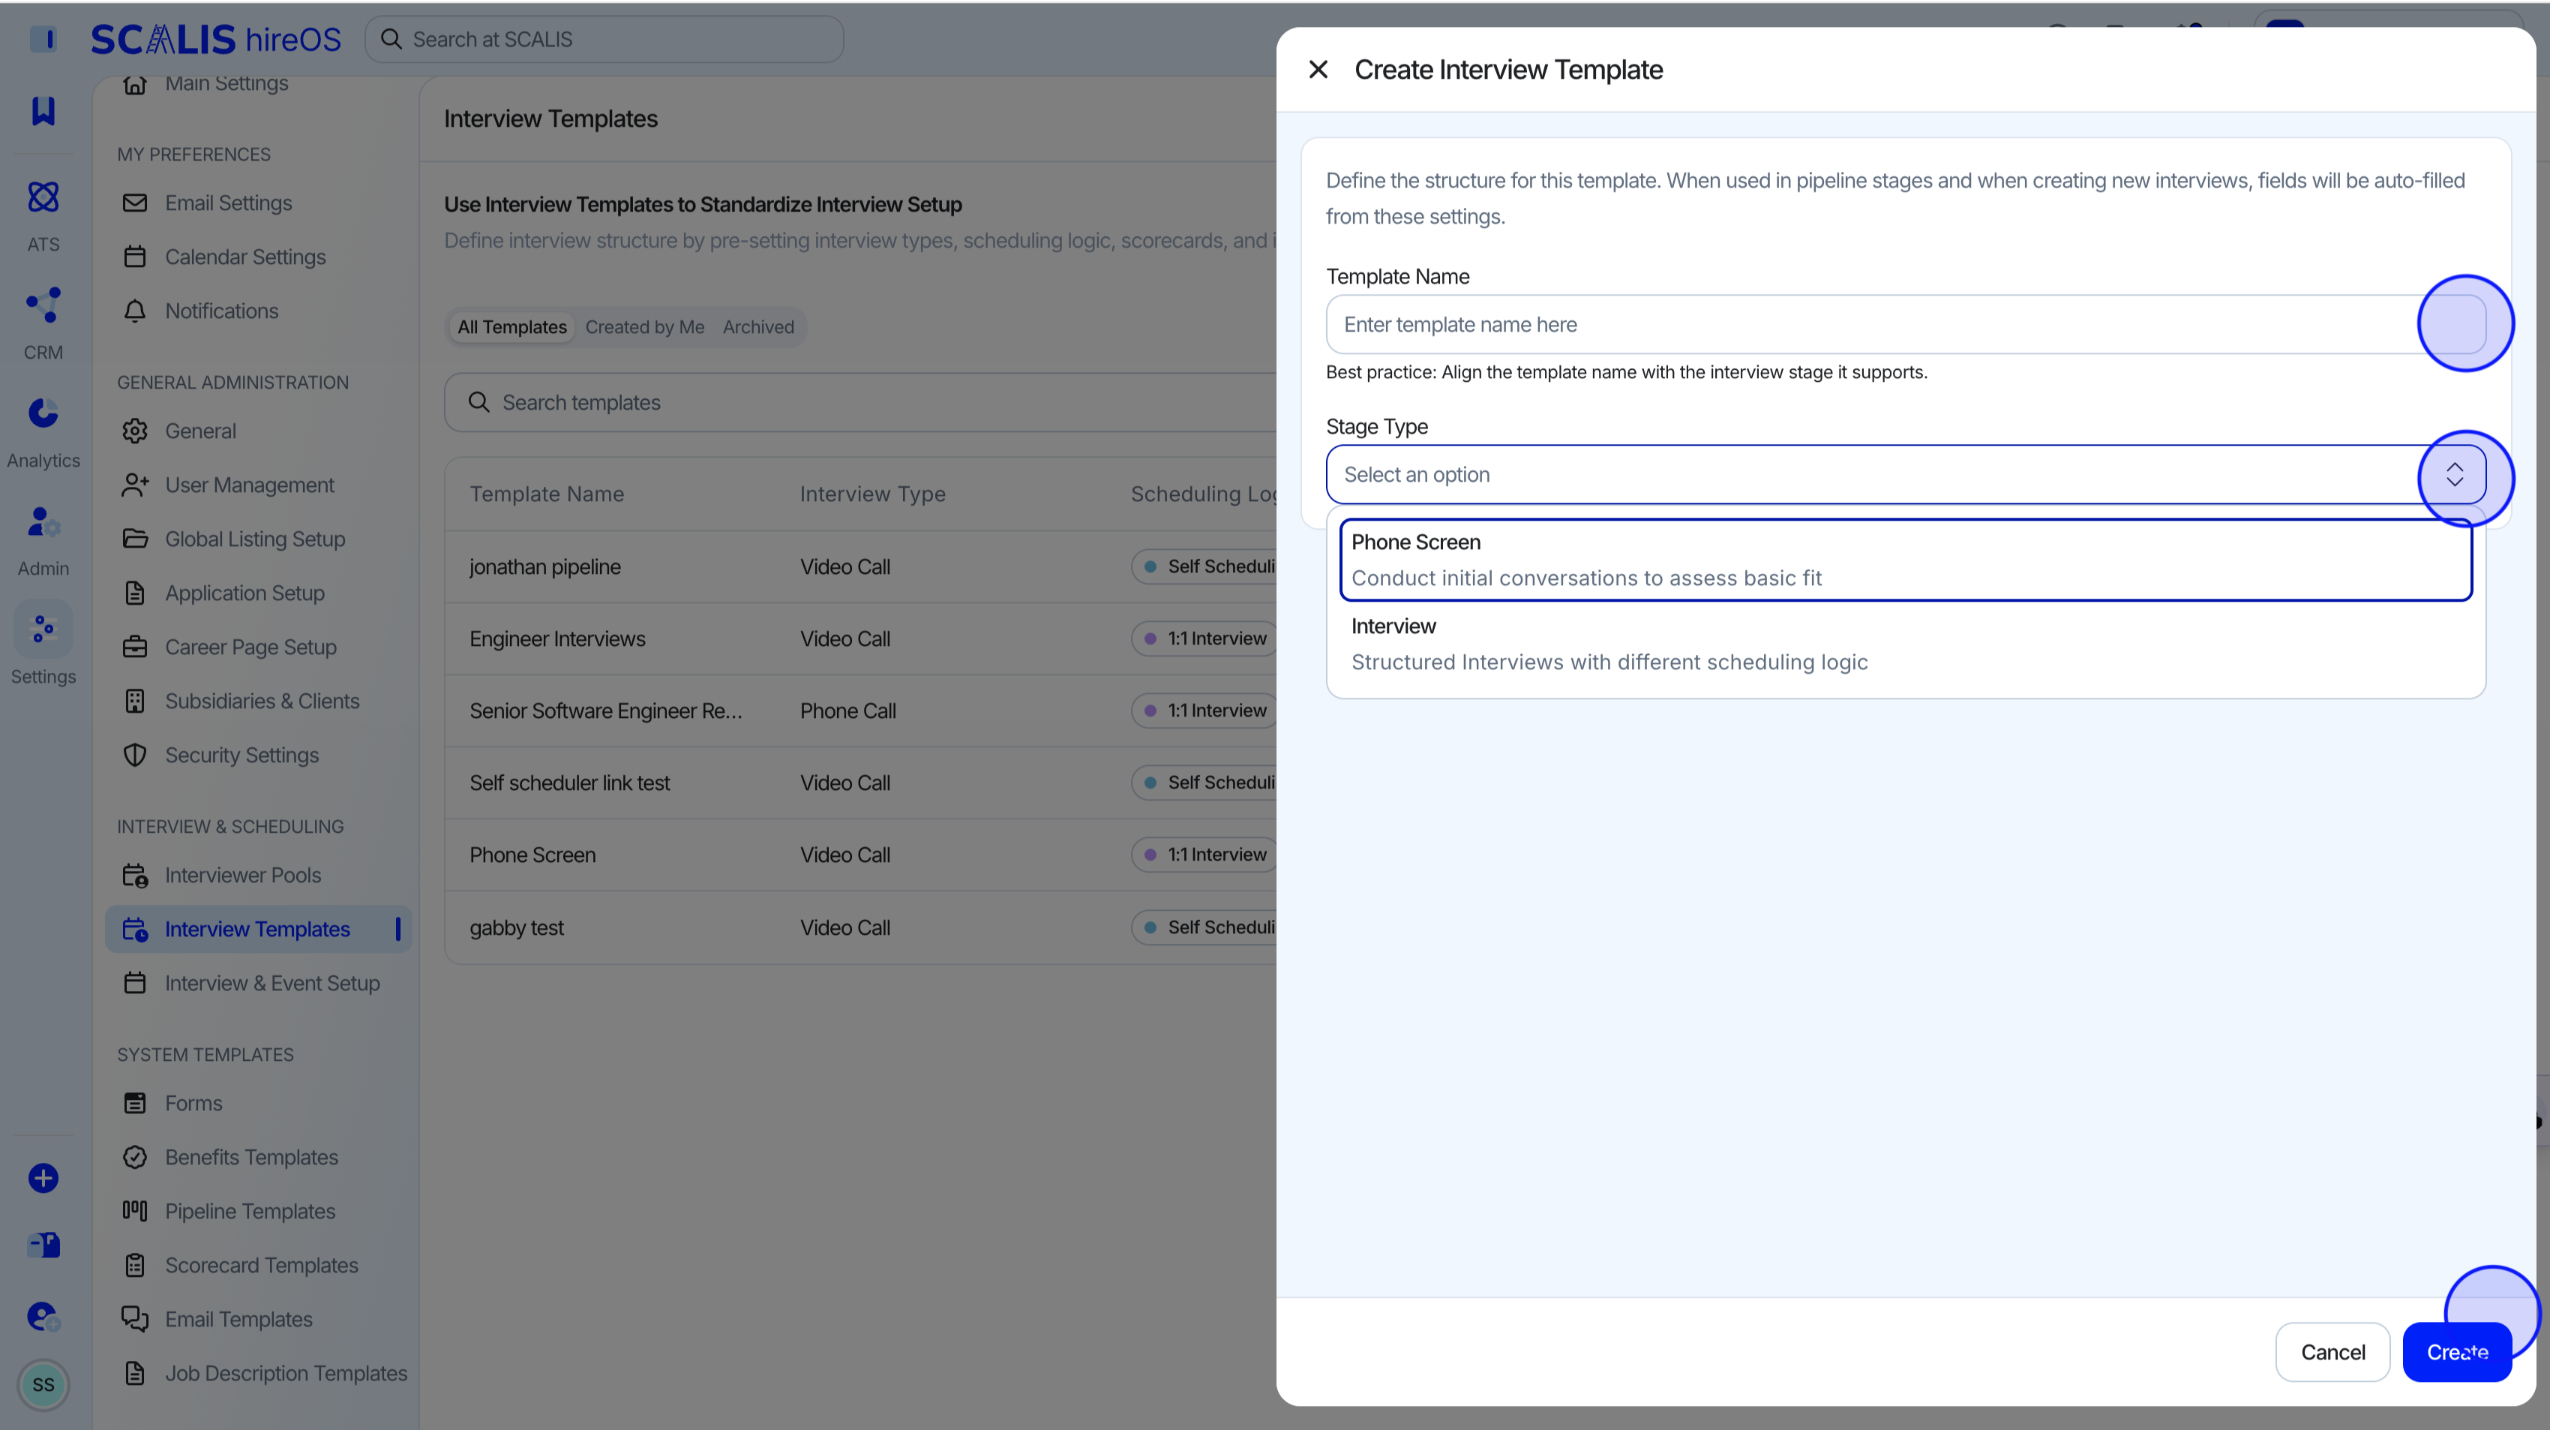
Configure the Template
Enter Template Name (e.g., Engineering Phone Screen).
Choose Stage Type:
Phone Screen
Interview
Select Scheduling Type (see the Scheduling Types table below).
💡 Note: We suggest aligning the template name with the interview stage it supports. For example, if this is a Phone Screen interview, title the template "Phone Screen."
4
Step 4
Add Interview Details
Select Interviewers (individuals or pools).
Assign Scorecards to guide structured feedback and candidate evaluation.
Set Duration of the interview.
(Optional) Toggle:
Auto Replacement: automatically assign a replacement if an interviewer is unavailable.
Auto Schedule Debrief (for panel and loop interviews only): automatically add a debrief meeting after the interviews.
✓
Final Step
Save and Use Your Template
Once saved, your template will appear on the Interview Templates landing page.
To use a template:
Enter the Manual Scheduling Flow.
Click Link Interview Template.
Select a template from the dropdown.
Fields (interviewers, scorecards, duration, etc.) will auto-fill.
Choose the interview time and complete scheduling as normal.
💡 Note: Build templates for your most common interview types (e.g., recruiter phone screen, technical panel, executive loop) to ensure consistency and reduce setup time.
Scheduling Types Explained
| Logic Type | Description |
|---|---|
| 1:1 Interview | A single interviewer meets with the candidate for each session. |
| Panel | Multiple interviewers meet the candidate at the same time. |
| Loop | A series of back-to-back interviews with different interviewers. |
| Self-Scheduling | Candidate selects a time based on available interviewer(s) from a predefined pool. This stage should be used if you would like candidates to use the scheduling link provided to schedule their interview. |
That's it! Your interview templates are ready to speed up scheduling and keep every stage consistent. Reach out to your CSM any time you need a hand.